This year, my intention is to grow a beautiful ornamental garden and produce food for my family, and hopefully finish a few long standing garden projects. Why not join me as I garden at home, and in customers gardens. I hope you enjoy this latest edition.

This blog is divided into specific sections, which will enable you to find the relevant gardening information you might require. If you have any gardening queries, please email through my contact page.
- SEED SOWING
Continues at an unprecedented rate, to the point where my greenhouse required additional shelving last week to accommodate the ever increasing amount of seed trays .

The Greenhouse 
Is… 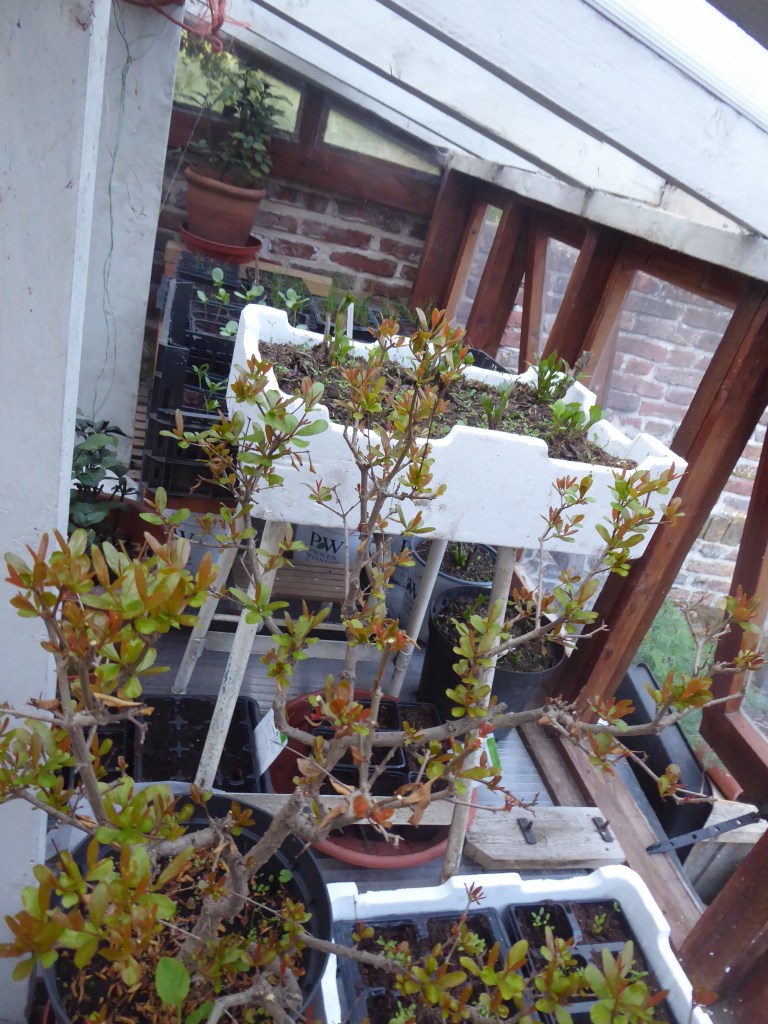
Filling up.
With the greenhouse temperature rising, seed germination is at an all time high.
My germination record so far this year is for Amaranthus Coral Fountain, a mere 5 days germination, and five days after this I was pricking them out.
Amaranthus seeds are tiny, just like grains of sand and to sow them you need to scatter the seed evenly across the whole seed tray, just like when you shake out a sachet of sugar over a cup of coffee, or icing sugar over a cake, or flour over a board if you are about to knead some bread dough. I hope these varied descriptions, spark a visually clear memory. If not I will make a small video clip for next week.
As you can see in the image below, it was a really good germination rate. I decided to prick out in clumps, as the seedlings are so tiny, and there are hundreds of them. Once they have started growing away in their new containers, I will probably snip out about 50 % as there will be too many. I will leave the stronger and healthier looking ones – and will show you how I go about doing this in a few weeks time.

Amaranthus seedlings 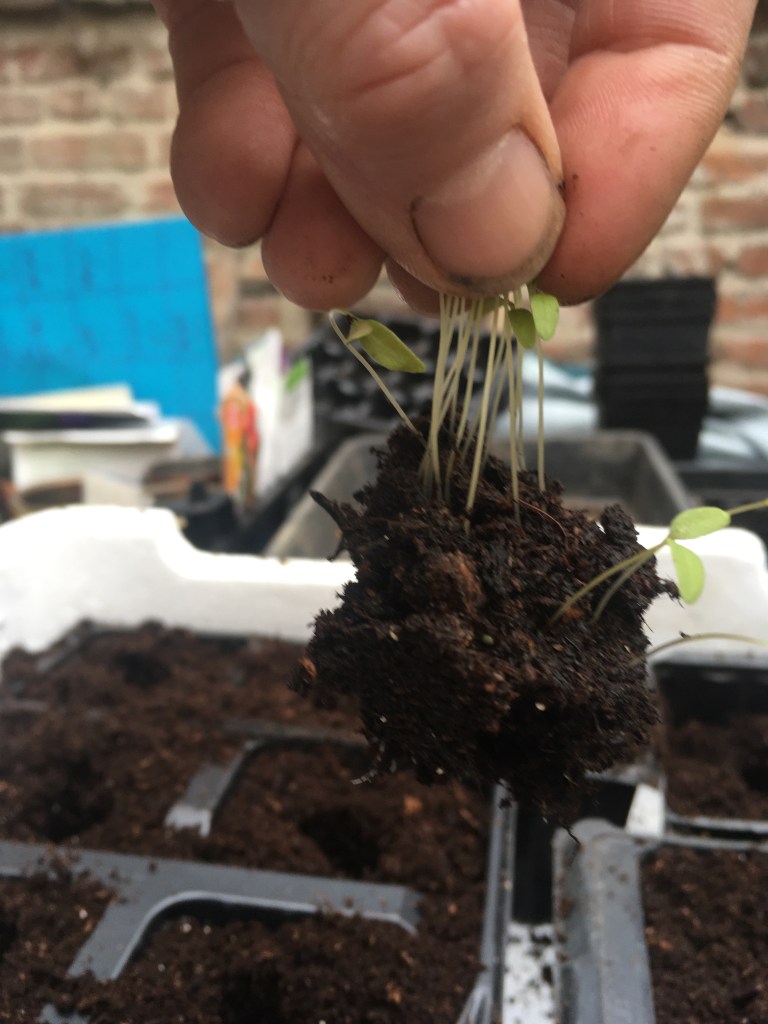
Lift by the leaves, not the stems 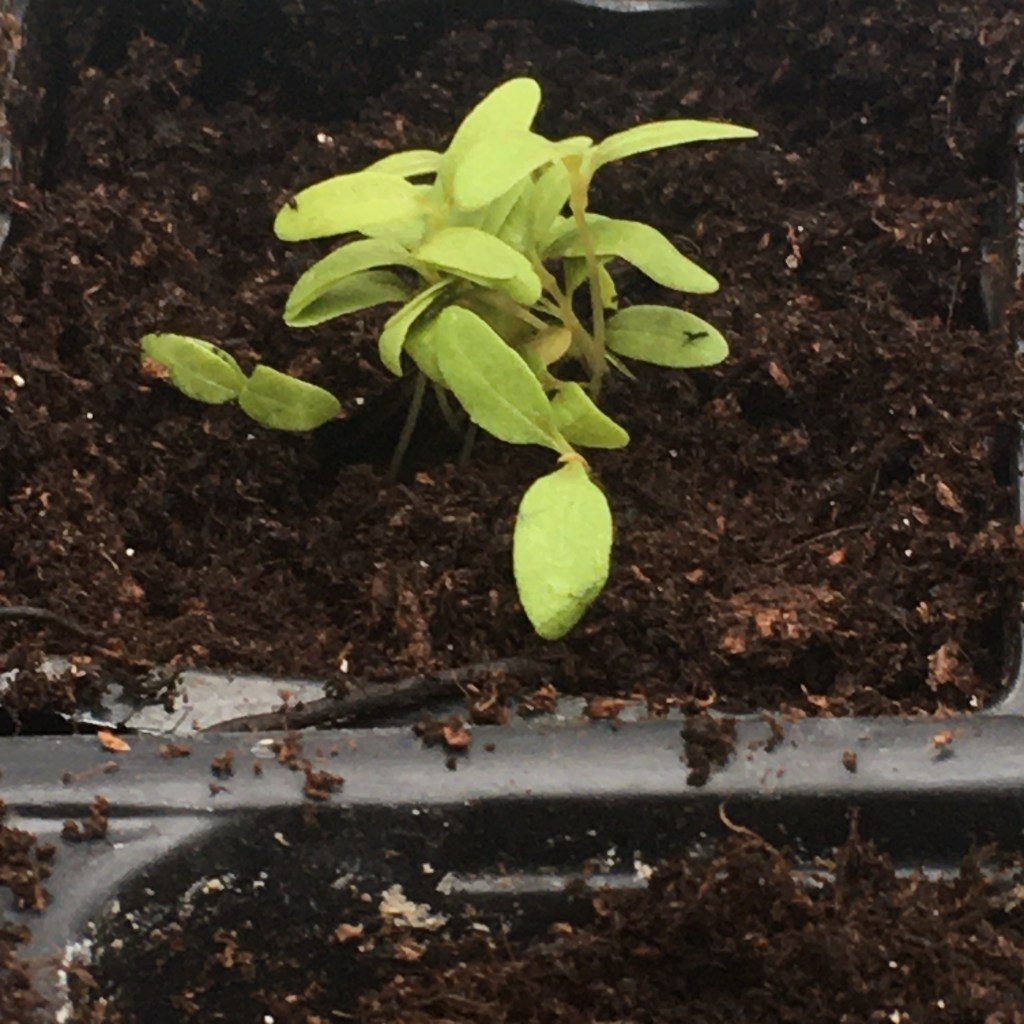
Insert back into compost 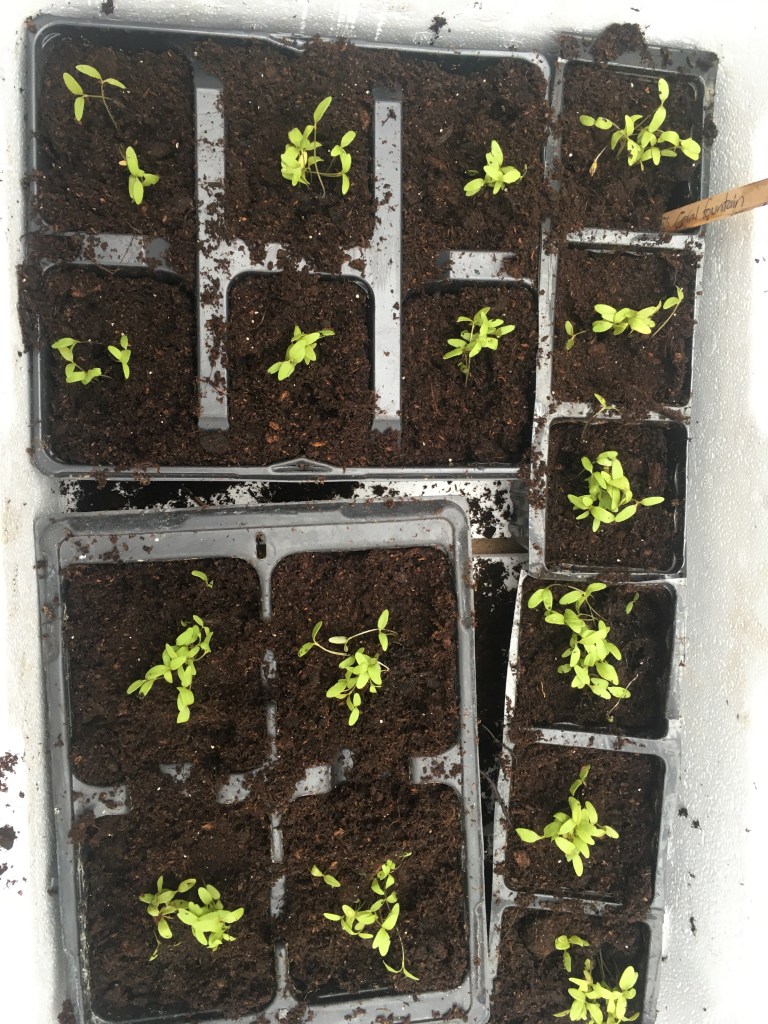
Pricked out and ready to grow on, in the greenhouse
I also grow plants with larger seeds, and that includes sunflowers.

some 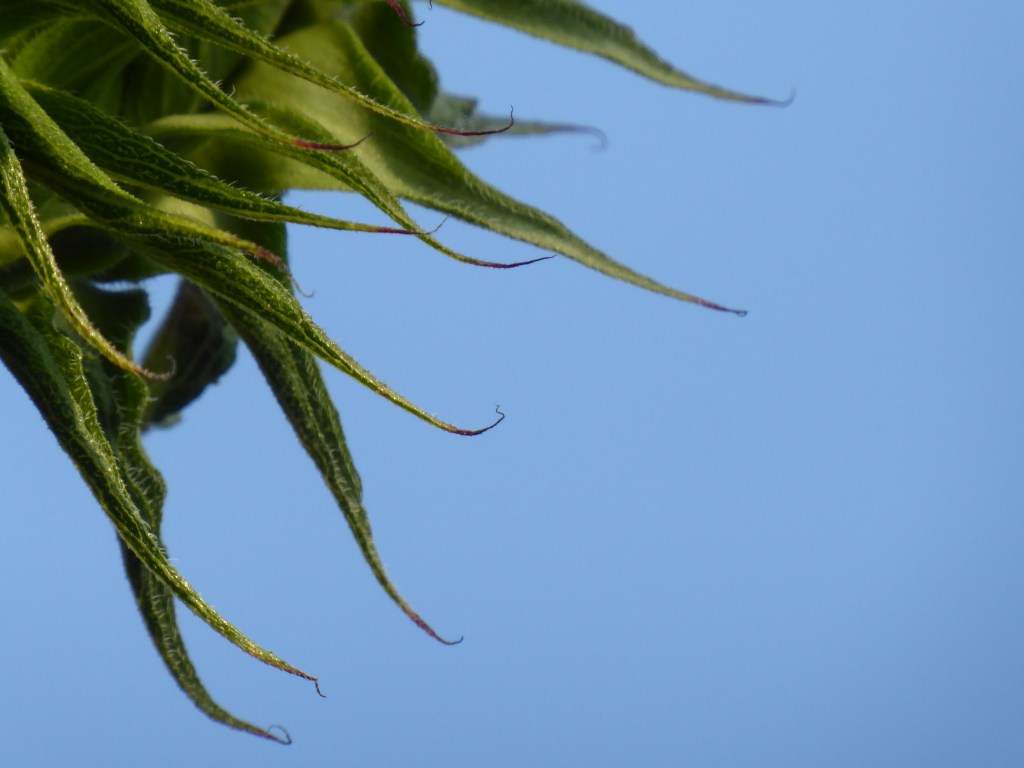
of my 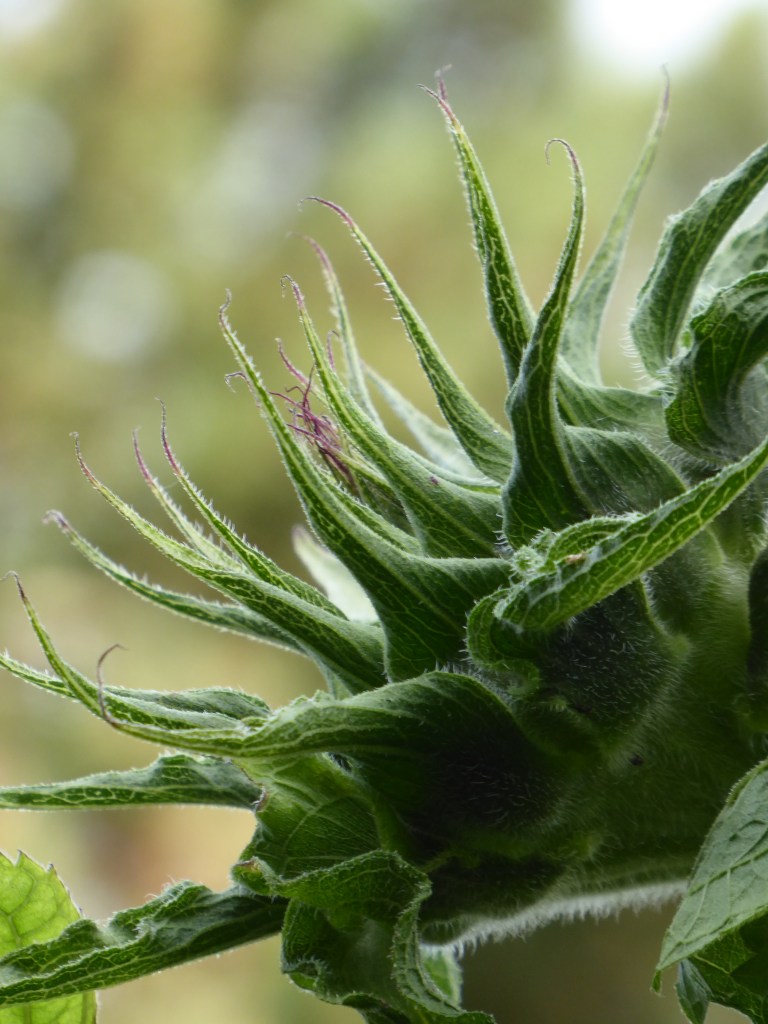
favourite 
sunflower images from 2019 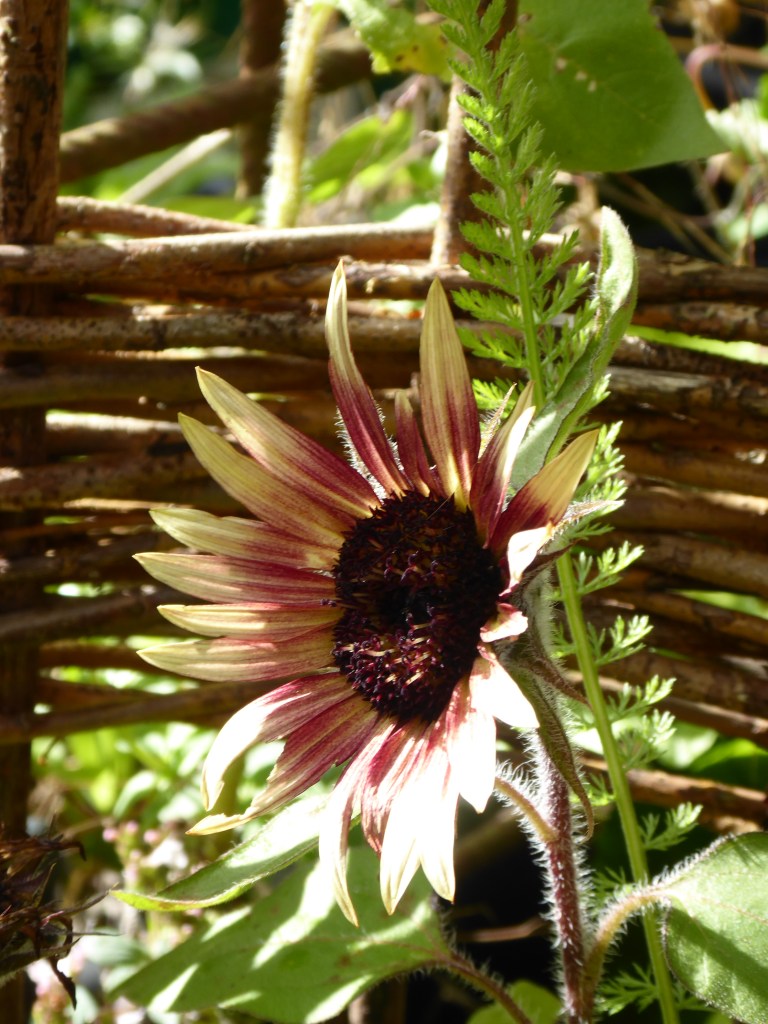
Ms Mars
I tend to sow sunflower seeds individually, or two to a module (if I am running out of containers).

individual seed per module, and two weeks later … 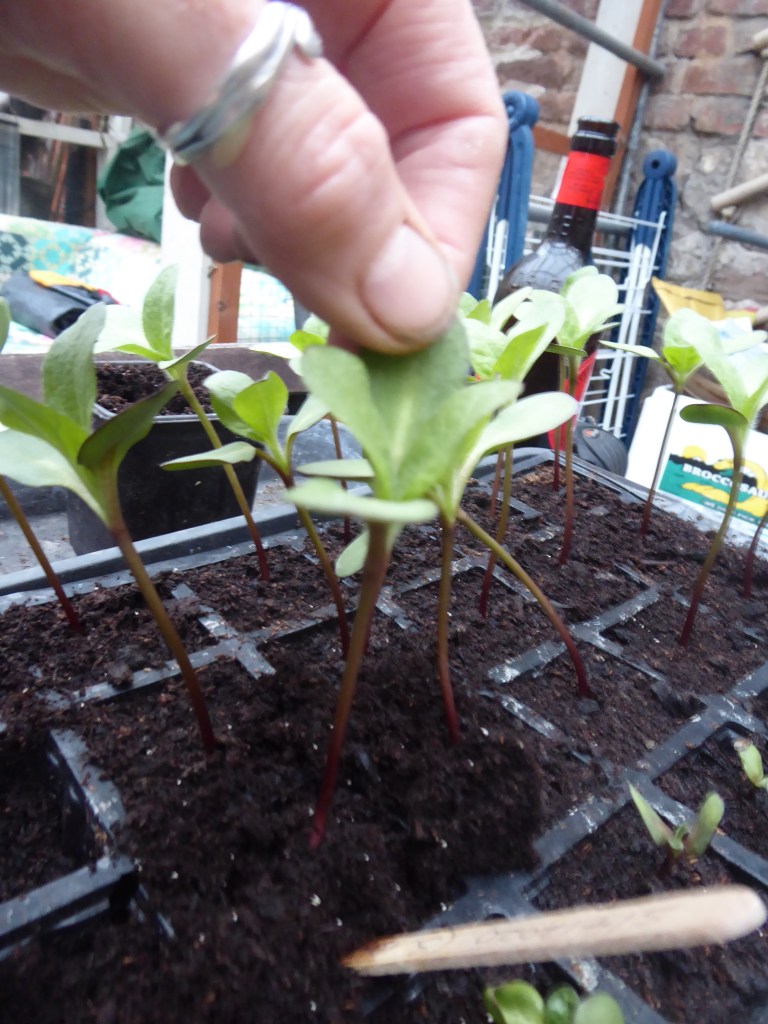
I was gently holding onto the seed leaves, rather than stem . 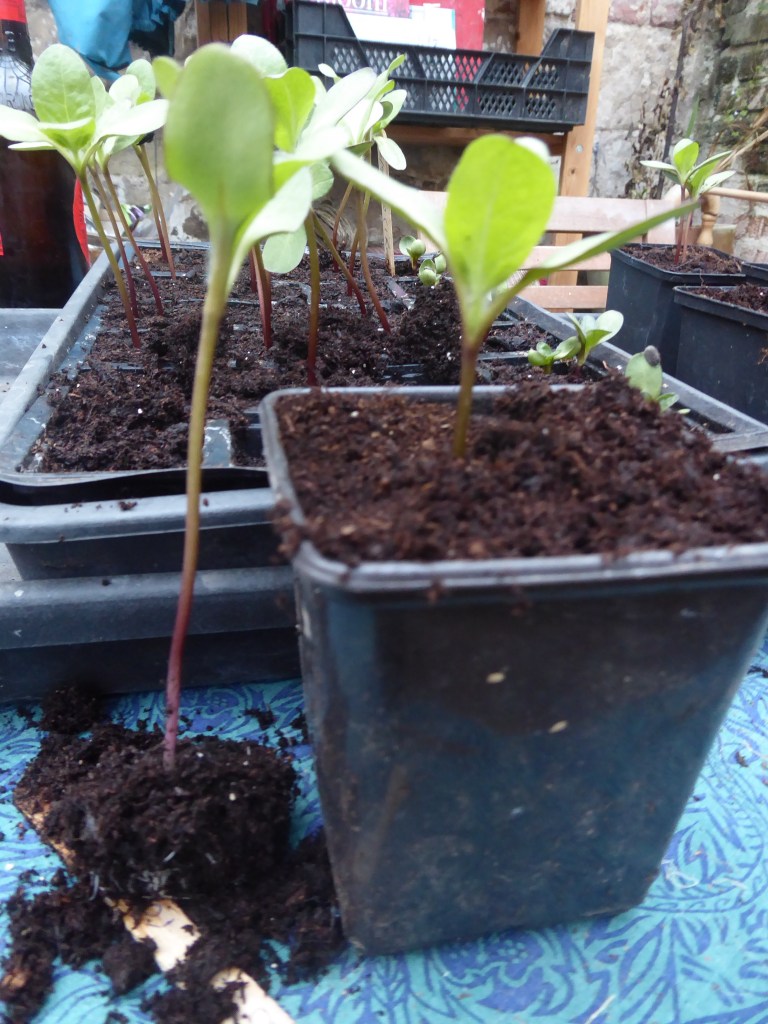
Then dropping the seedling as deep as possible into the new container.
If left in their initial small modules for much longer , they would run out of space for their roots to grow. The compost would keep on drying out, and there would be competition for light with the other seeds. This would lead to unhealthy growing conditions, weaker plants, and probably an early demise.
So how do you pot on ?
- Fill the new (bigger) containers with compost, and make a large hole in the centre of each to drop your seedling into.
- If any of your seedlings still have the original seed casing attached to the leaf, don’t pull it off, it will come away naturally overtime. This way you won’t cause any detrimental plant health damage to your young plant.
- Hold onto the seed leaf – not the stem. Using a small stick, a fork, or anything you happen to have, gently ease out the entire juvenile root system.
- Don’t just pull on the stem, you are likely to end up with a stem with no roots attached.
- If you have a few failed initial attempts don’t worry, just think of these as your practice ones.
- Insert the seedling into the previously prepared containers, as deeply as you can. The closer you can get the seed leaves to the surface of the fresh compost, the more roots will form along the root, which will provide more access to water and nutrients, and greater anchorage in the ground once planted, and a healthier plant in the long term.
- Water them in well, and watch them grow !
I know pricking out and potting on will be a main job over the coming weekend. The majority of my seeds are starting to become slightly cramped for space in their trays.
I sowed http://www.thompson-morgan.com mangetout peas straight into guttering last weekend. Once germinated they will literally be slipped out of this container, and into the ground, and hopefully start to clamber up the weld mesh trellis with their tendrils. This mesh is so useful, as well as providing plant support, it helps to visually divide the garden up.

They were covered up with compost shortly aftewards ! 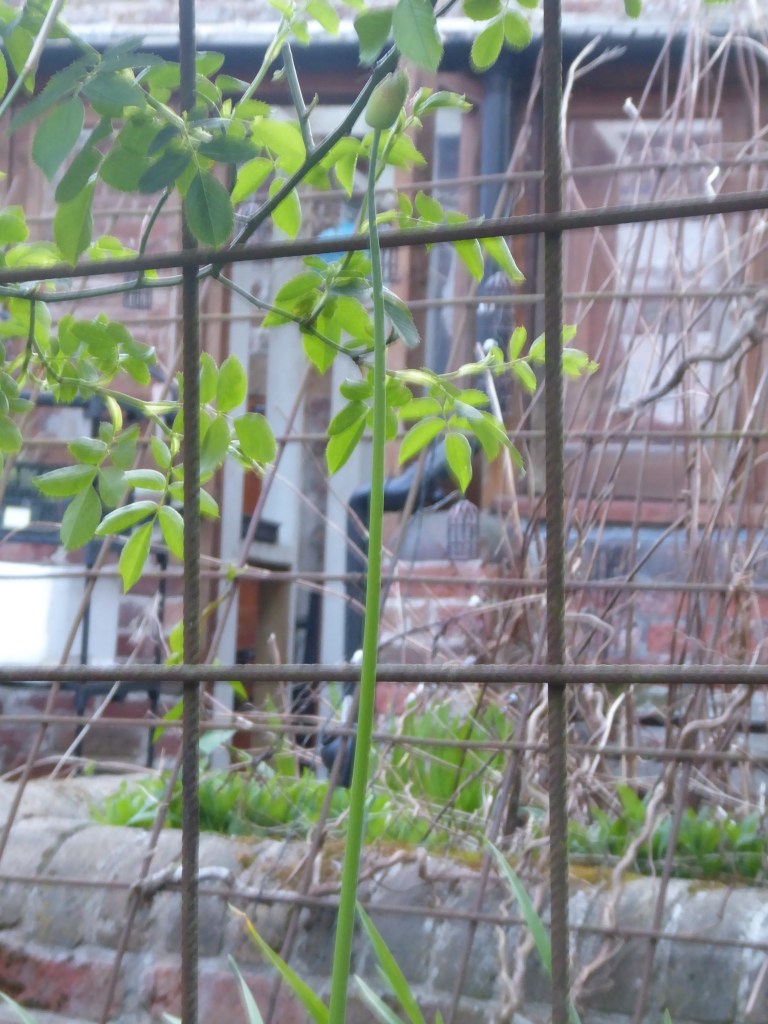
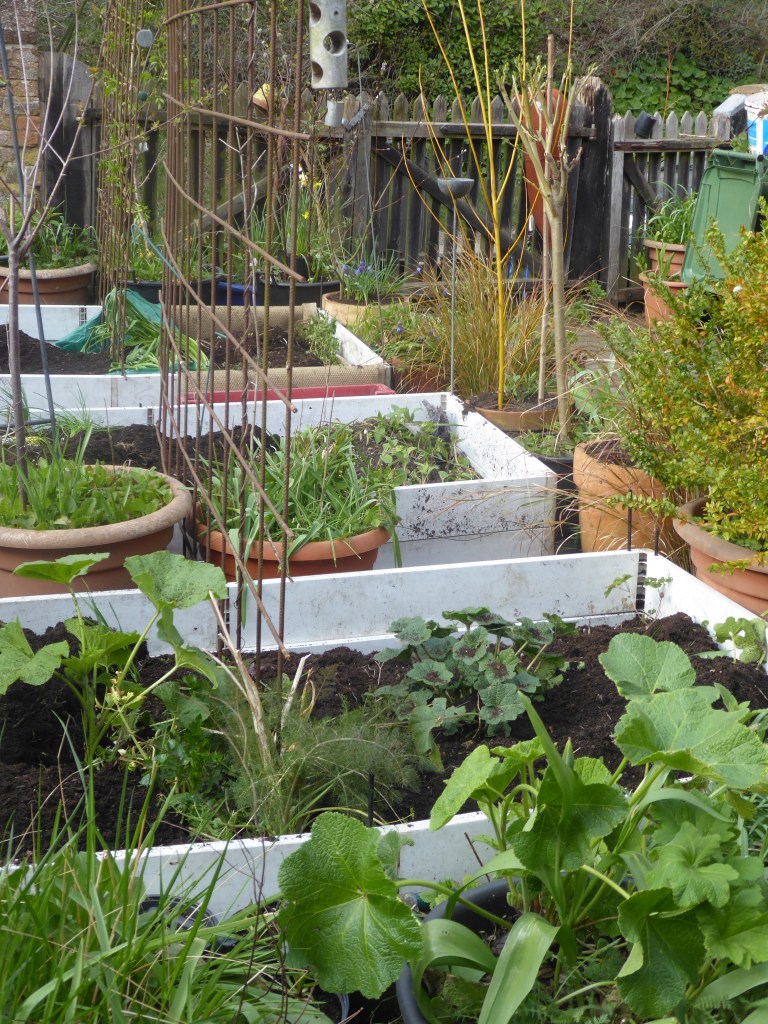
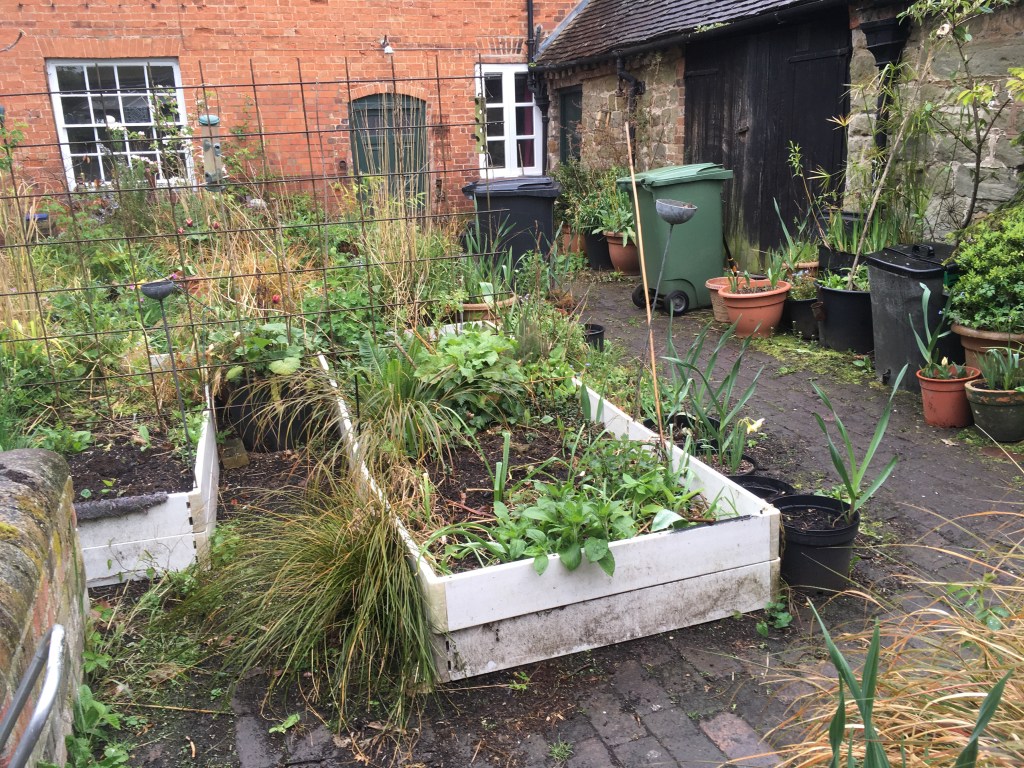
2. ORNAMENTAL GARDEN
I have started clearing out the raised flower beds to make way for what will eventually be my new annual cut flower bed. So what will I be doing with my no longer required plants ? A simple solution, they are to be donated between the nine gardens in my care. Which means I will be able to watch them grow and flower over the coming summer in other peoples gardens.
My garden is a mix of containers, with self sown annuals, in between the brick paviors in our garden. This year I really want to reduce the number of smaller containers drastically. Some will end up as donations to customers, some will go into new raised beds I am making. There are a couple of borders on the lane side perimeter of our home that I can make some space for my treasured plants. The main reason for reducing containers is that I want to maximise the health of my plants. It has been so dry of late, they are visibly under stress and wilting. I do not want to have to keep on watering them to keep them alive. I want my plants to have a happy healthy life.
That’s quite 
a few 
containers.. 

VEGETABLE GARDEN
I decided to extend the veg beds, they are now being topped up with compost, made purely from grass clippings, which have been in a heap for about 3 years. I would imagine this compost is probably very high in nitrogen which is good for vegetative growth, but I don’t have a soil testing kit to tell me what other nutrients it does contain.
So to get round this I am mixing it with garden soil, which is likely to have a greater range of naturally existing nutrients. This will include Nitrogen as previously mentioned, and Phosphorus which is important for root growth and ripening of fruit and Potassium which is essential for good flower and fruit formation. Everything grew well in this garden soil last year so I would like to think it will be okay this year.
For next week I will write a more definitive list as what the major and minor natural occurring soil nutrients are, and what happens to plants, if they are lacking these nutrients. And most importantly what you can do to remedy this.
Constructing and filling the new veg beds is definitely a work in progress, but by the end of this coming weekend, I hope to have them ready, so that I can put some fleece over them and start to warm up the soil. Then after about a week I will begin to sow my salad and veg seed directly and plant out young transplants.
A small 
weekend project ? 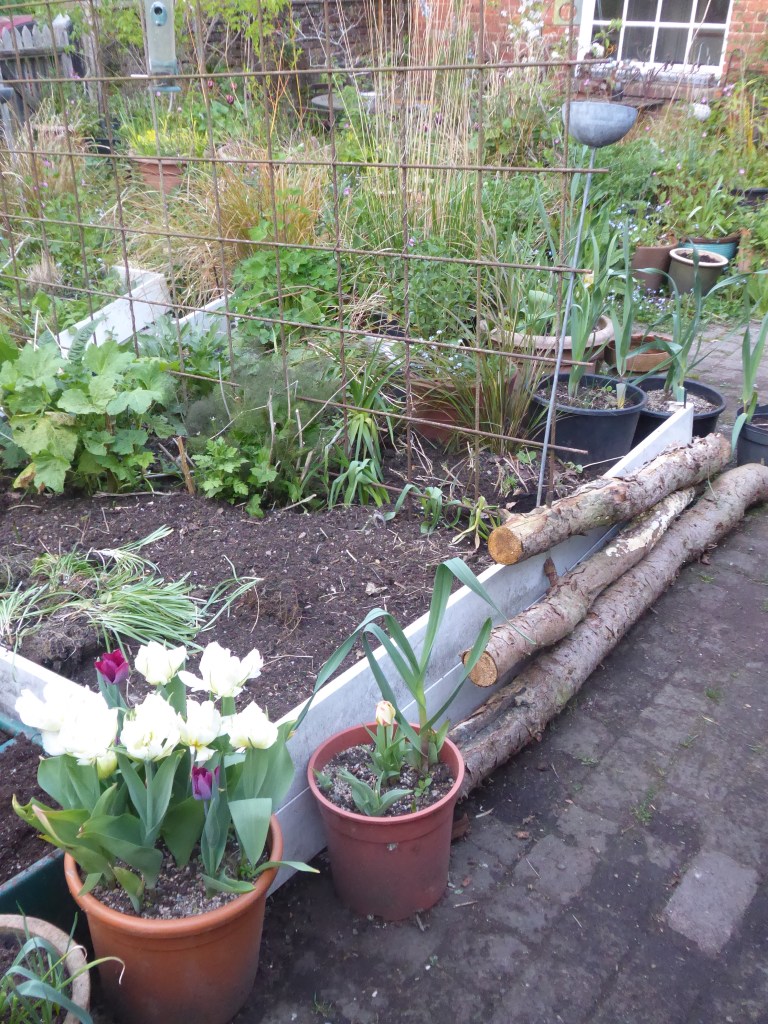
(nearly finished )
I have a couple of trays of different types of salad and spinach(from seed) in the greenhouse, and will plant these out once the beds are ready. I will also be sowing carrots, beetroot and radish as seed straight into the new beds. I have some parnsip seeds, which is probably a little late for sowing, but I will, and see what happens.
GREENHOUSE WORK
As already mentioned, there is additional staging in the greenhouse to house all my seedlings. Over the weekend I need to sit down and work out, what remaining seeds need to be grown in the greenhouse, and what can be sown directly into my garden. I very rarely sow flower seed straight out into the open ground, so I will be on a steep learning curve on that one.
Every day before I head out to work I now spend around half an hour with a big mug of tea in the greenhouse, opening the windows, taking the fleece of the seed trays, checking to see whats happening with my plants and watering the seedlings, I cannot tell you how much I love doing this, it is a truly positive start to my day, and fills me with joy and happiness as I wander around my lovely greenhouse, gathering in the sense of that “life as a gardener is a good life”.

All growing well.
JOBS FOR THE MONTH (OF APRIL)
- To repaint my two favoutire chairs – achieved.
- To Clean the greenhouse roof – done
- To make all the raised beds in the garden – work in progress.
- to reduce the amount of containers by a third – work in progress.
COMPOSTING
I have started my liquid nettle fertilizer, it really was incredibly simple. A bucket of fresh nettle leaves, without the roots, weighted down with a brick, and filled 3/4 full of water. I have put a lid on it, as I understand that is really quite pungent as it ferments. It should be ready in about 6 weeks. It will need straining and then I dilute and use it on my garden.
I have recently learnt that nettles, are one of the most nutritious plants to use as a fertilizer, as it is very rich in nitrogen, and provides potassium and sulphur, all of which are major nutrients needed for a plants health. I keep on reading though, that its not meant for use on peas,beans, onions and potatoes. One of my friends is a soil scientist, so I will ask Mark why ? and report back next week with the answer.
I also have an unused wormery bin, and have recently sent off for a rescue pack to get it up and working again, and will be writing about this over the coming weeks.
ANY OTHER JOBS/ANYTHING ELSE
Over the last couple of years, I have attended several excellent garden and landscape design courses, which are organised By Annie Guilfoyle and Noel Kingsbury who are http://www.gardenmasterclass.org YOU really ought to take time, to check out their website. At the moment , all their courses are being rescheduled for later in the year. However in the meantime, there are tea time talks. The daily line up of speakers is incredible, outstanding photographers, horticulturalists, landscape architects and designers, nurserymen and women. This is currently being provided for free. There is an option to make a donation , and I would recommend listening and donating.
MY WORKING LIFE
I continue gardening throughout Shropshire . This week I have particularly enjoyed spending time with

Magnolia Gold Crown 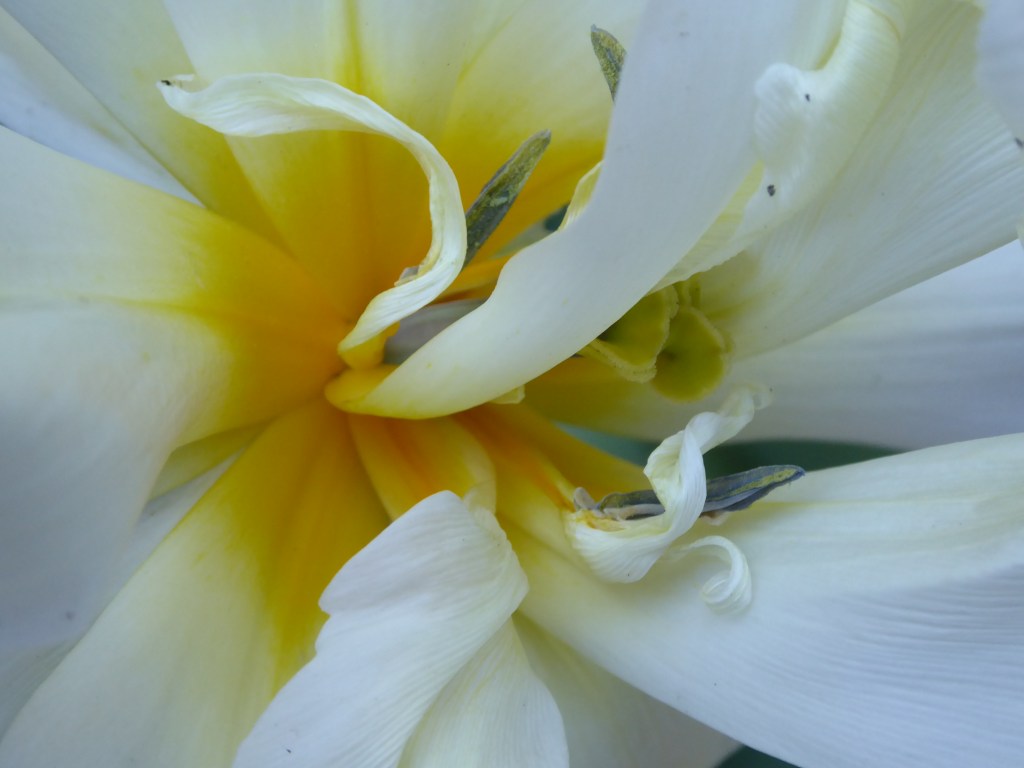
Tulip Exotic Emporer
Over the last couple of years, I have purposely pruned Martin and Judy’s shrub roses, to create a canopy layer. We now have an understorey of Peonies, amorphous Box shapes, Monbretia leaves and Ferns. And shortly Allium Purpureum will be in abundance.

I hope you have enjoyed this weeks episode. See you next week !
Any queries please contact me on my contact page.

