Like any self employed person I often find myself time short. Today I had my first labour saving idea of the year
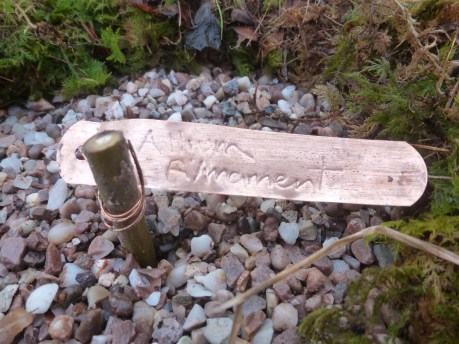
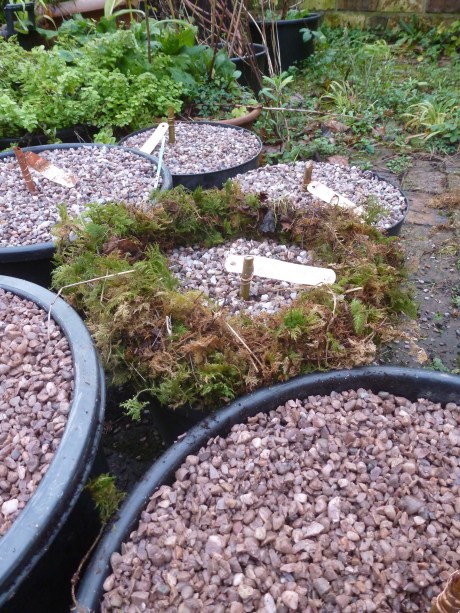
Albeit a little over due I was planting bulbs, and wondering what to attach my copper tags to. Even though it is the simplest propagation method I very rarely get round to taking hard wood cuttings. However today they became the post for my tags, and this year I will hopefully have the willow for my winter door garlands in abundance. I can just leave them in these containers, so there will be no need to pot them up again.
I use to make these rolls with college students years ago. You will need a bin bag, a 50/50 mix of compost and horticultural grit, string,secateurs and your chosen hard wood cutting material.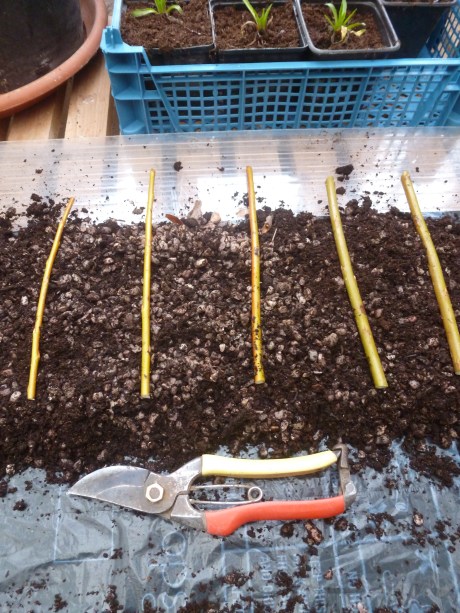
1.Take your cutting from the previous years growth, pencil thick (if possible), and about 15cm long.
2.Make a straight cut at the base just below a node, and a diagonal cut at top, just above a node.
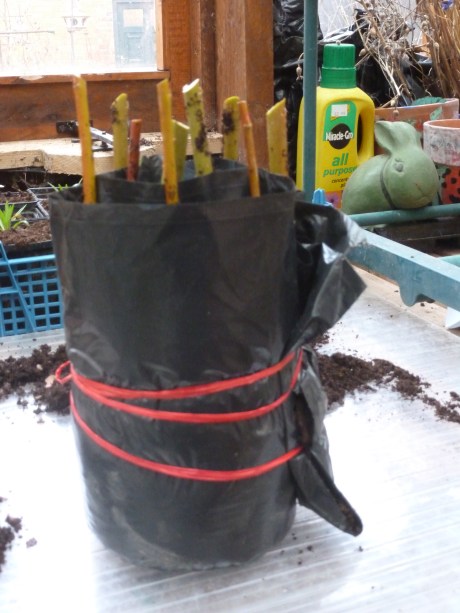
3. Line them up along the grit mix with as much of the cutting below the growing media as is possible. You just need a couple of nodes above the growing media. Roll them up, tie with twine. Cut in some drainage holes.
4. Put the roll in a plant pot to keep it upright then leave outside, and check on in late Spring by rolling out to check for for signs of root growth. Just roll them up again if root hairs have not developed. Once your cuttings have roots from the base of the cutting material it is time to pot them up, or plant into the ground. Your little cuttings should be ready to pot on by Autumn.
Whatever you do, don’t pot them on, when the first roots appear, as these will be on the stem alone, and not the base. Just wait.
I find this to be a particularly fool proof method, as the amount of cuttings I have pulled tiny root hairs off, as I pull on them in a container to see what they are up to.
You can use a wide range of deciduous material for hard wood cuttings, including – dog wood, flowering black currant, roses,hazel, willow – to name but a few.
Happy hardwood propagating everyone.

