Working as a gardener throughout the year, causes bemusement to several of my friends. They all quite like gardening, but stop around late autumn, as it is getting cold and they have finished for the year. They only venture back outside in early spring when it is warming up so they can check on their planted containers. Oddly enough their seasonal gardening behaviour has bemused me for several decades. Surely gardening is an all year round activity?
So, if the above applies to you, I will show you just how simple it is to start being a gardener in the winter months by having a go at growing your own plants.
Let’s start with the basics – What is natural stratification ?
A process where seed dormancy is naturally broken through cycles of natural freezing and thawing temperatures that winter provides. These repeated processes weather away and weaken the hard seed coat to initiate the process of germination in spring when growing conditions are optimal.
It is important to note that by just putting seeds in the freezer for a length of time is highly unlikely to have any impact on promoting the process of germination, as you need combinations of freezing and thawing to soften the seed coat. If a winter doesn’t provide these cycles your chosen seeds may well stay dormant for a couple of years until the right natural stratification process has occurred. Do not give up, if nothing happens in the first year. Just leave them outside and see what happens the following winter.
What equipment do you need ?
Seeds – which you can buy or save from your own plants ,peat free compost,perlite,containers,grit,label a waterproof pen, and a table or surface to put them out in your garden. What’s stopping you ?
Choosing your seeds .
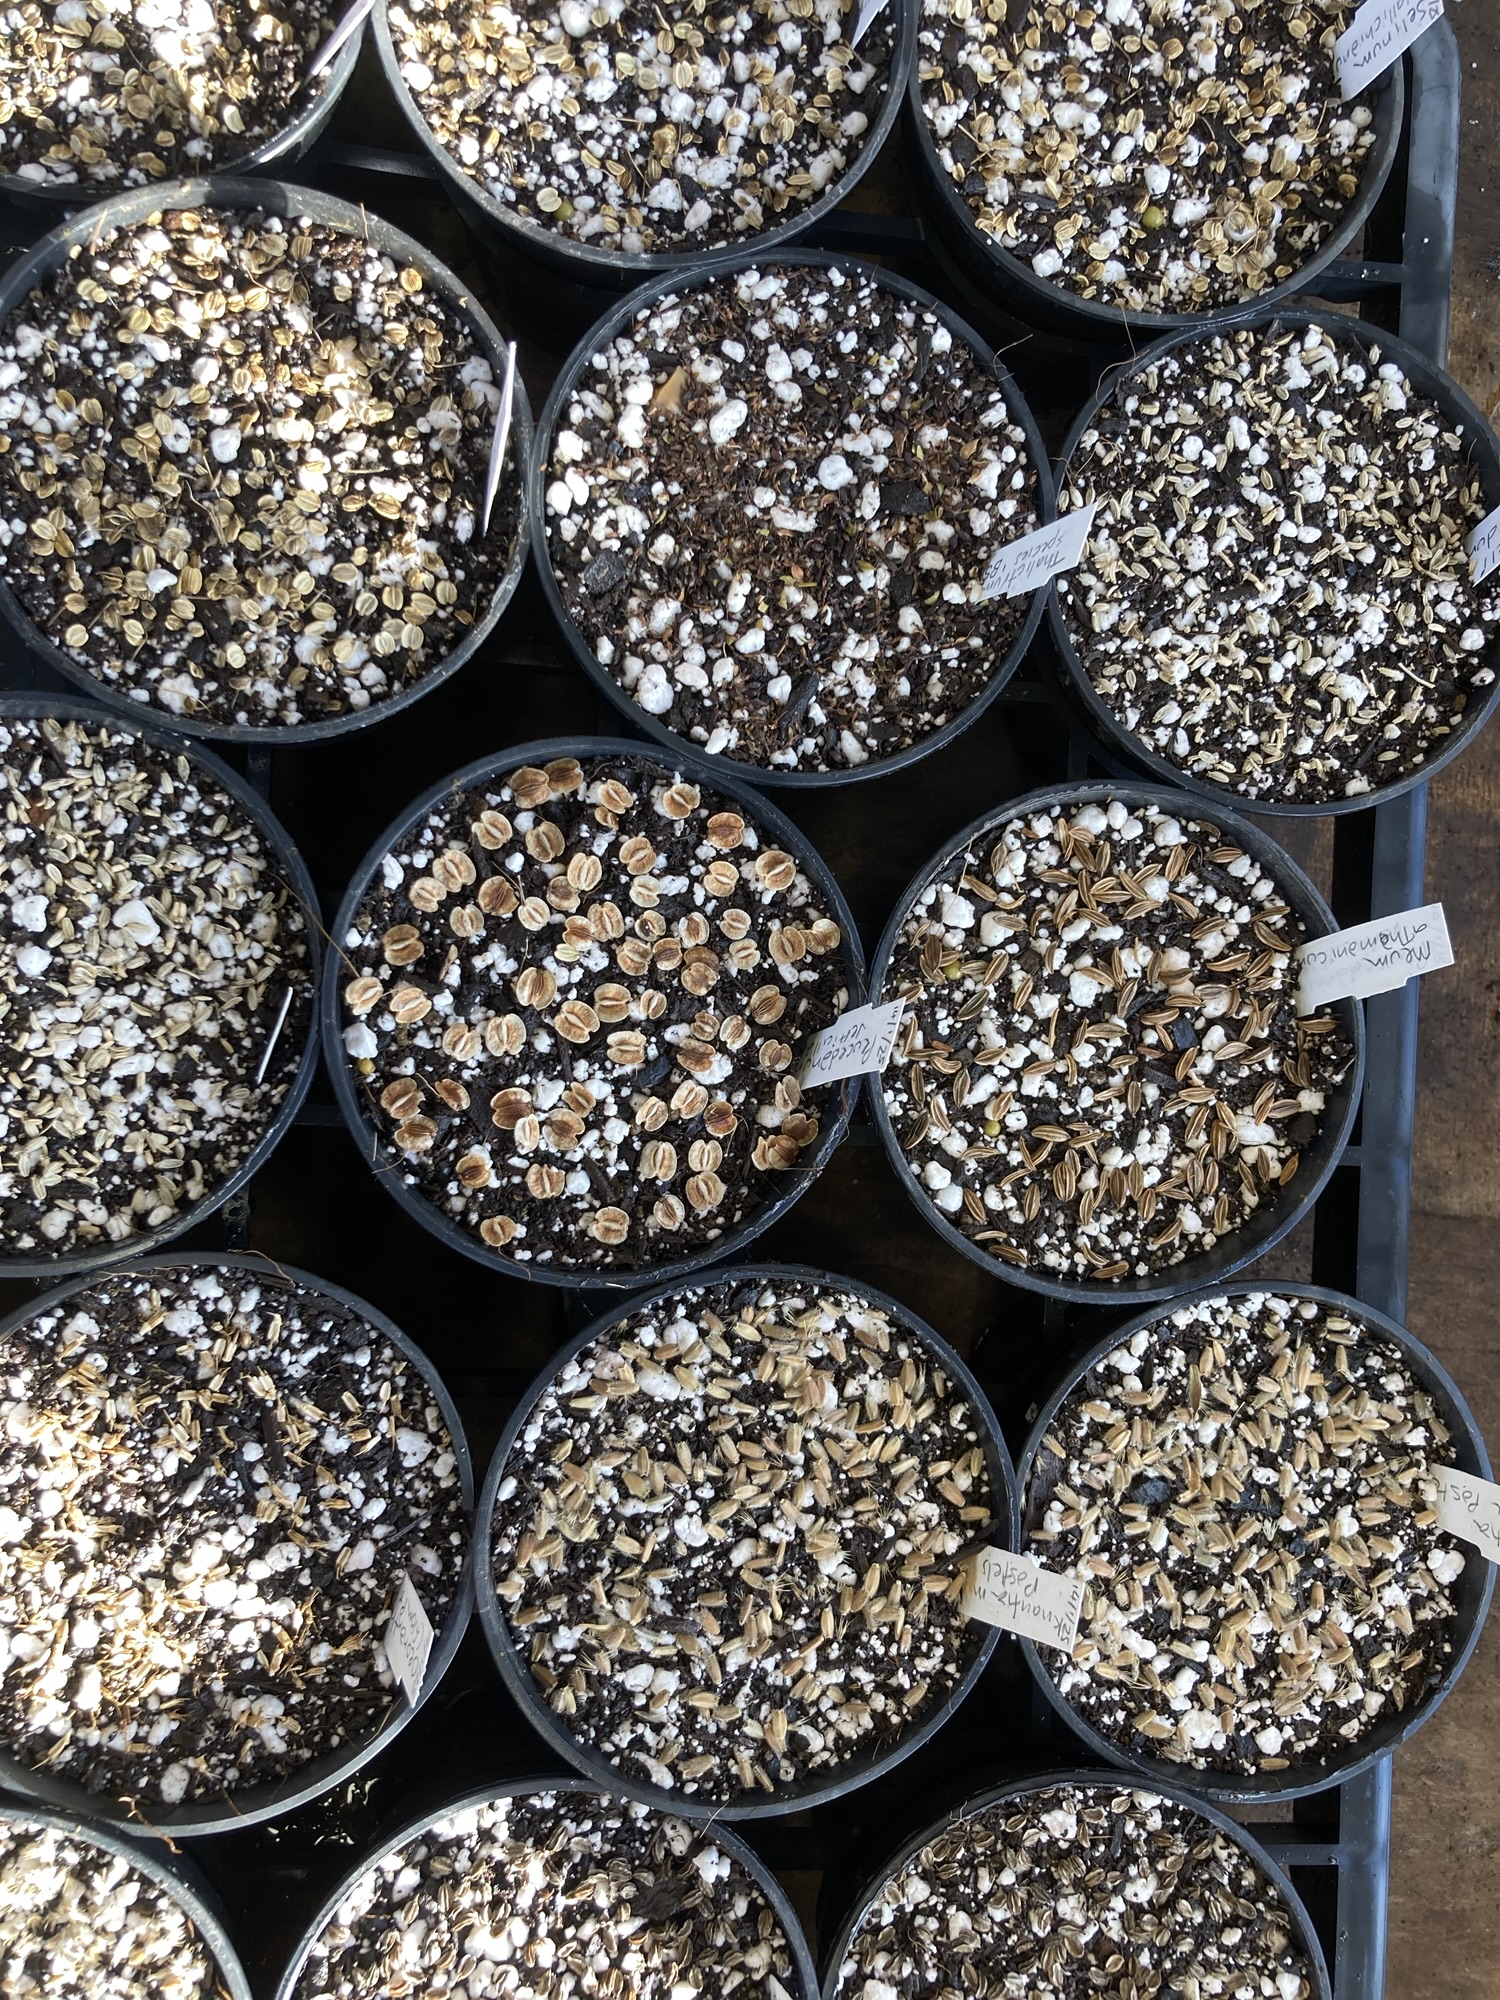
These are some of the plants we grow at Wildegoose nursery following a natural stratification process.

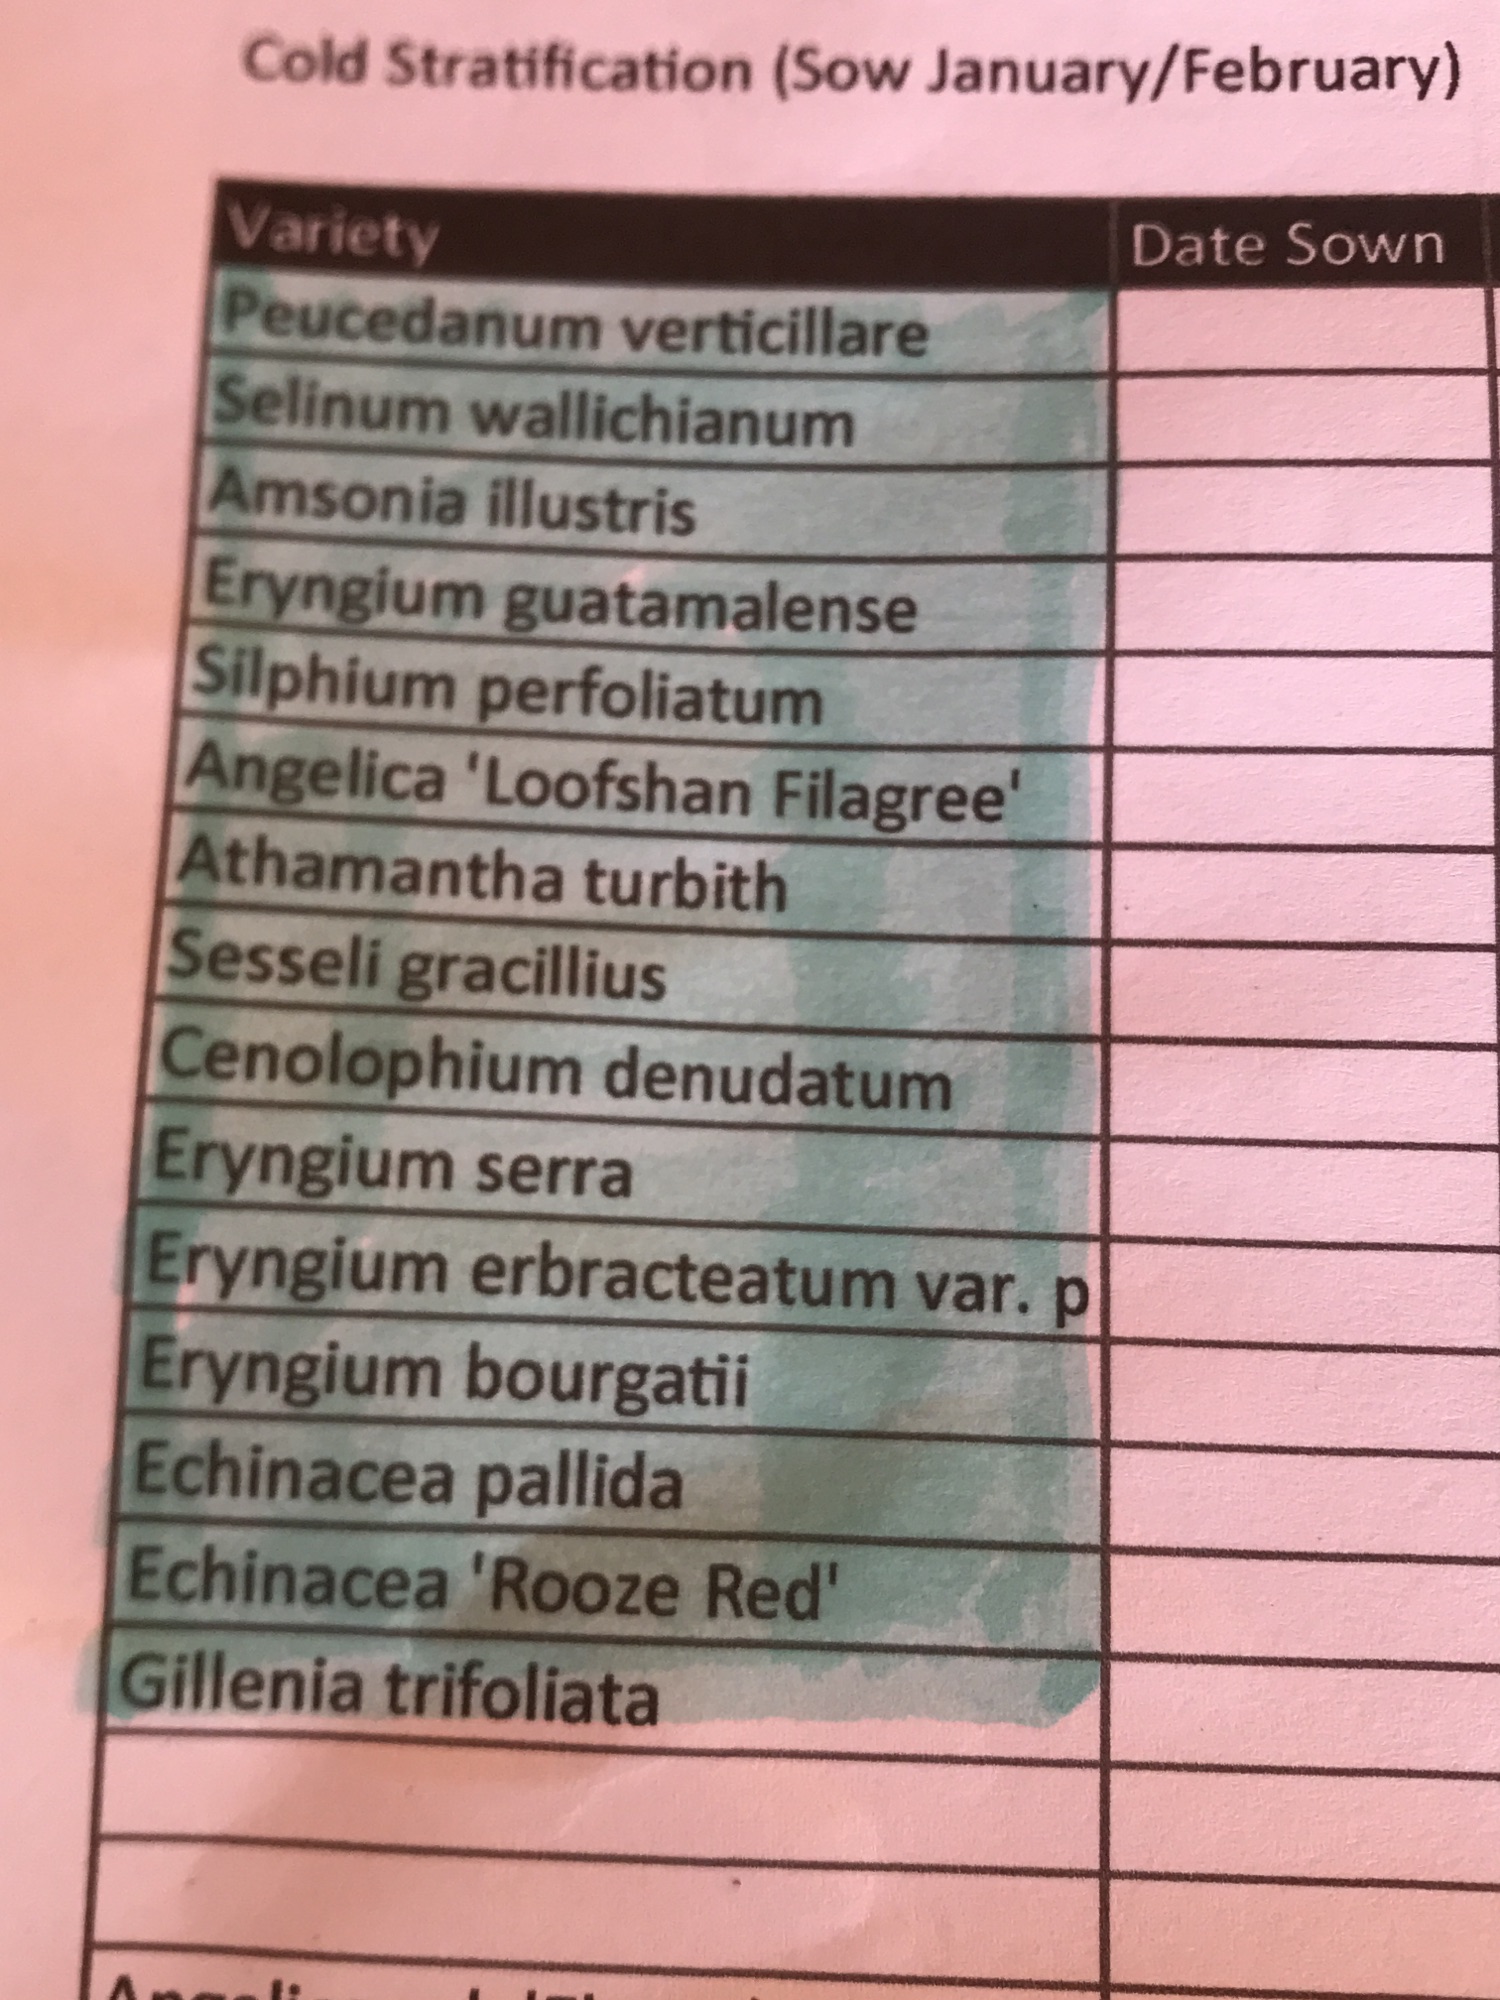
Umbellifers, Eringiums and members of the Ranunculacea family are prevalent on the sowing list. It is always very important to check the family , as when sowing Thalictrum which is a member of the Ranunculacea family the seed coat is slightly toxic to the touch ( infact the whole plant is ) So remember to wash your hands carefully afterwards. Reputable seed companies always provide this type of information on the growing instructions, but if gathering from your garden you might not be aware of a plants toxicity. So a little homework on seeds is really important before you start.
Getting started , there are two ways
- You could buy seed from a commerical supplier, or find a seed swop event near to you.
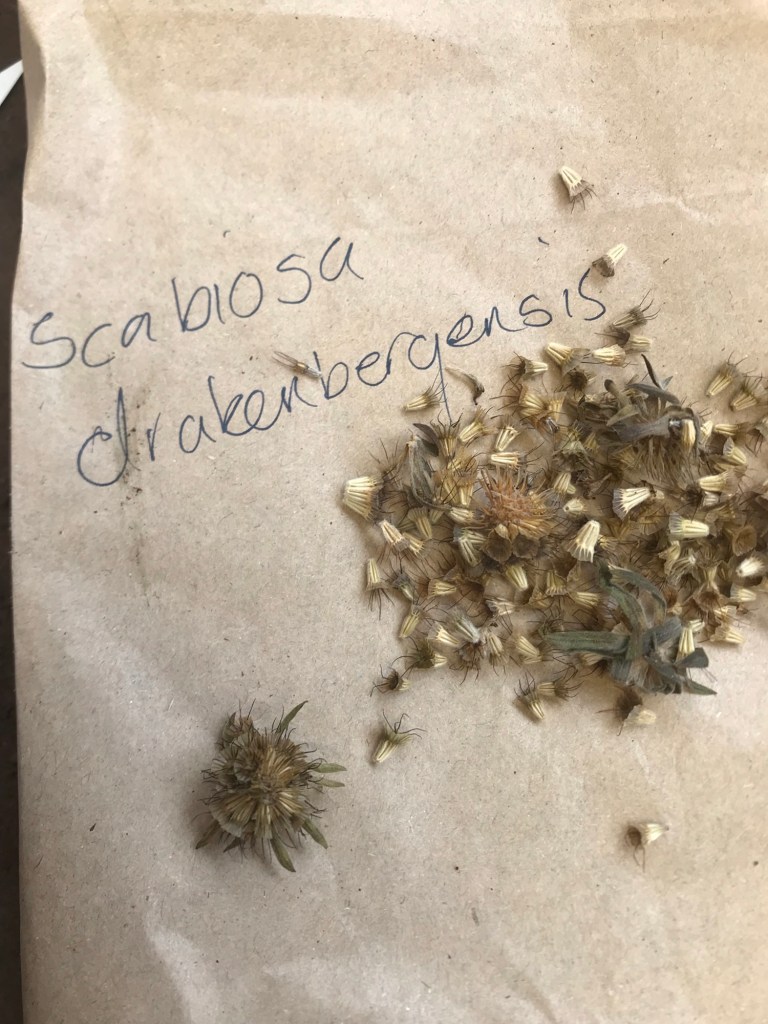
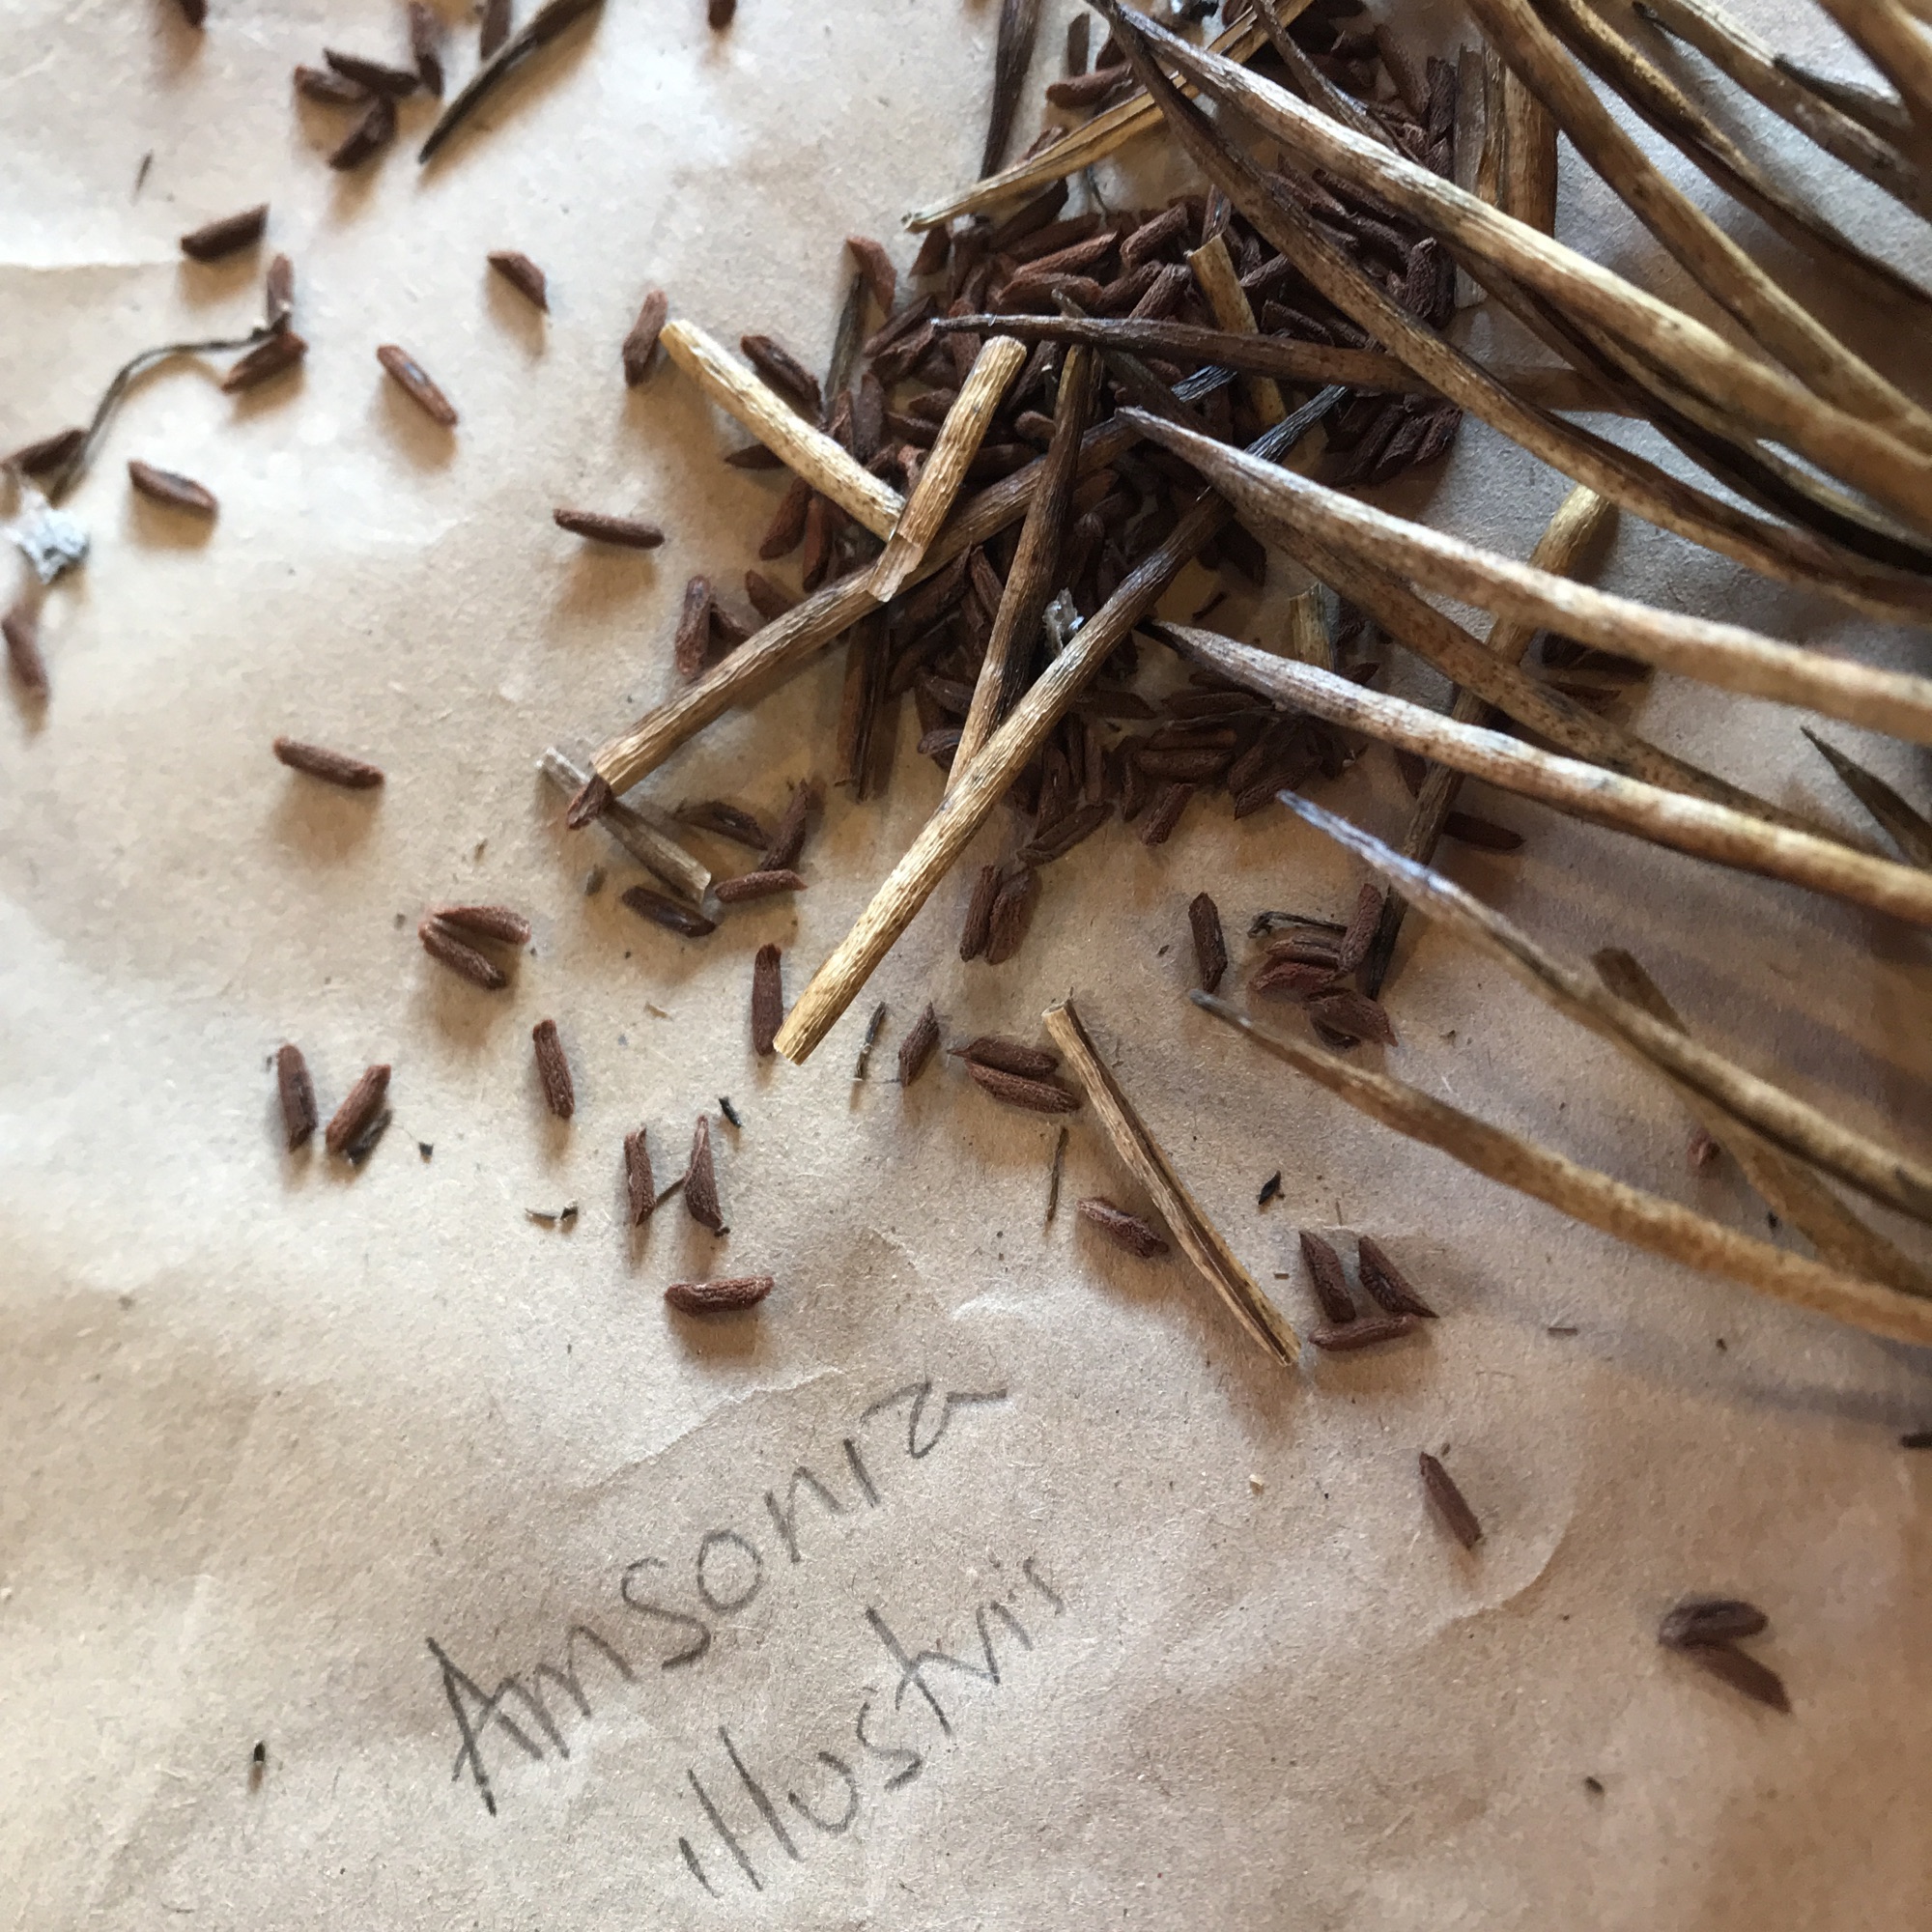
2. If gathering your own seed , the starting point of this process starts in mid /late summer. At Wildegoose we watch seed pods and seed heads ripening in the borders. A useful guide as when to harvest is when seed pods start to loose their vegetative colour, turning brown and start to shrivel in the process. If time allows you could open some surplus seed pods to check if the seeds are ripening, or if they are still fresh. You will notice fresh seed can also feel less dry. Seed heads are collected with the stem still attached and put into brown paper bags.
They are labelled and placed in a rodent free place. The seed is checked in early winter to make sure it is dry. If seed heads are mouldy they are unsuitable for use and thrown away. The seed is then prepared and sown in the early part of January.
Preparing your seed – again there are two options
- If you buy the seed, this process is already done for you .
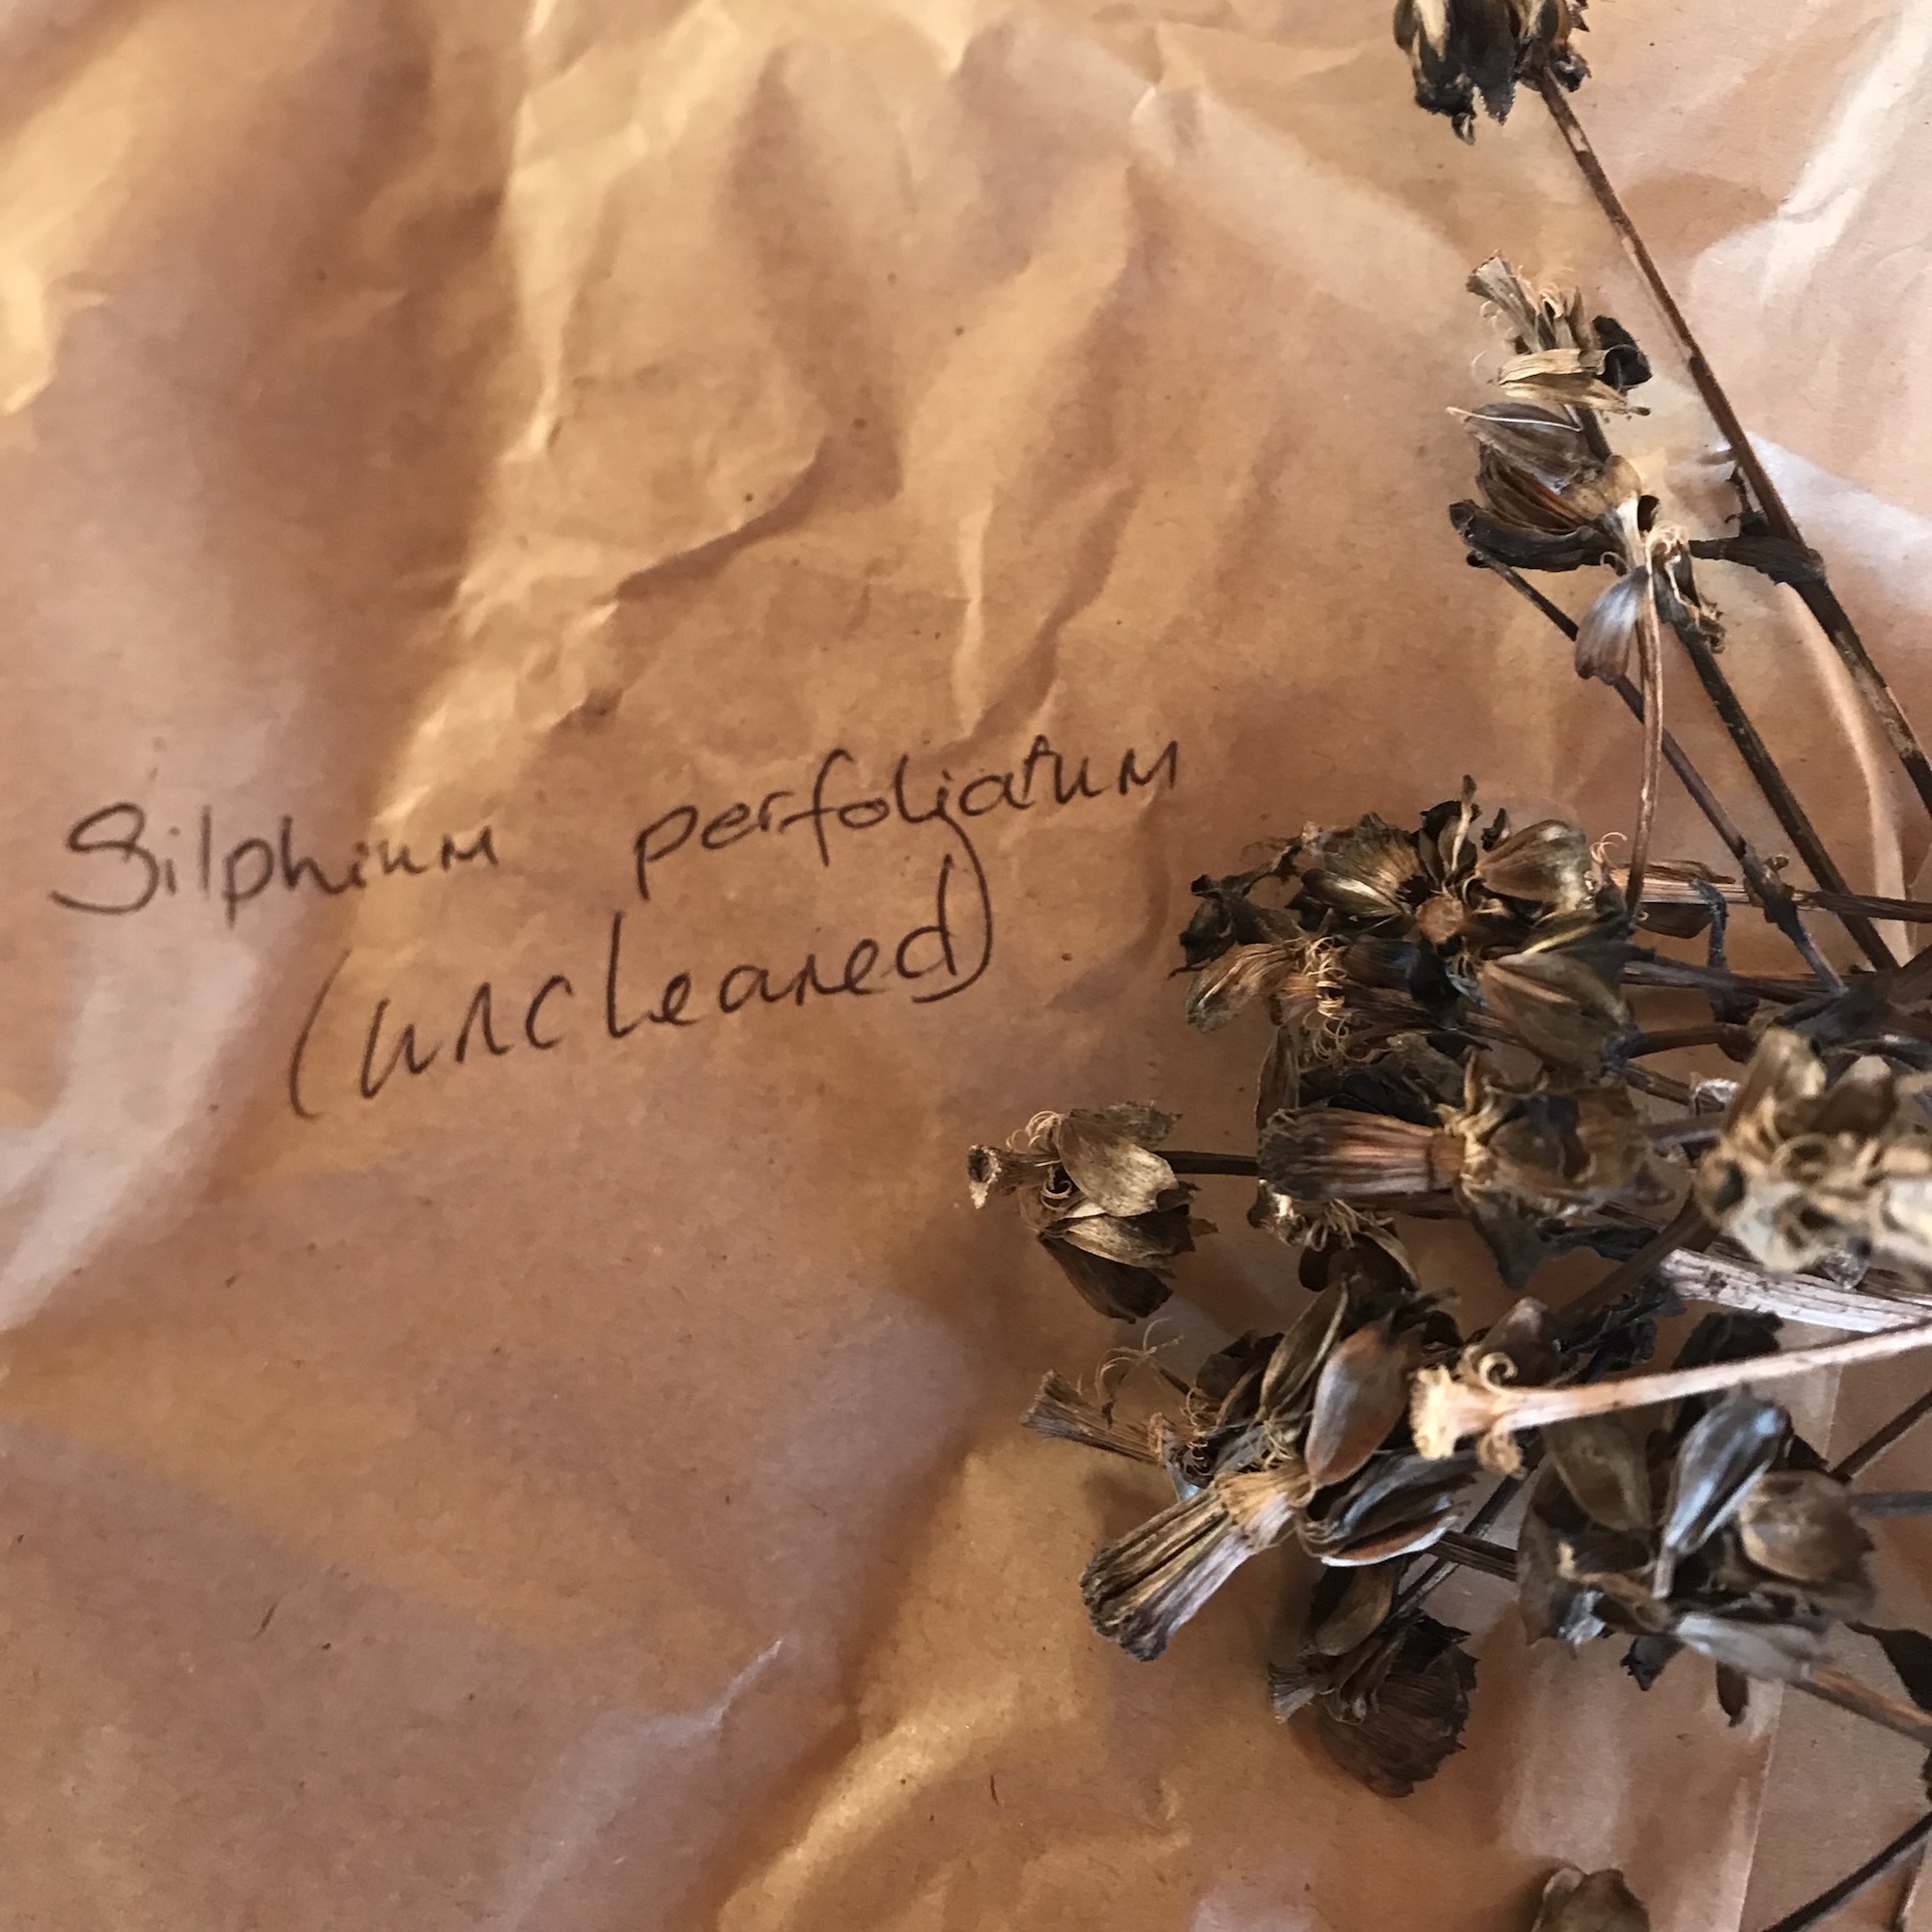
2. When you save your own seed , it’s down to you . At Wildegoose, we work together inside with the log burner on as we clean the seed. We drink coffee and discuss all our gardening ideas for the forthcoming year, both for work and our own gardens. It is a particularly enjoyable and social event.
When cleaning seed , it can be a really simple process . Some seeds just naturally gather in the bottom of the bags as the seed heads ripen and burst. Whereas some seeds are tiny, which can make it more difficult to identify between which is the waste chaff or the actual seed. Thankfully internet research for seed identification can be very handy at times. Having a supply of cocktail sticks to move small seed from within the chaff is a really useful little tool.

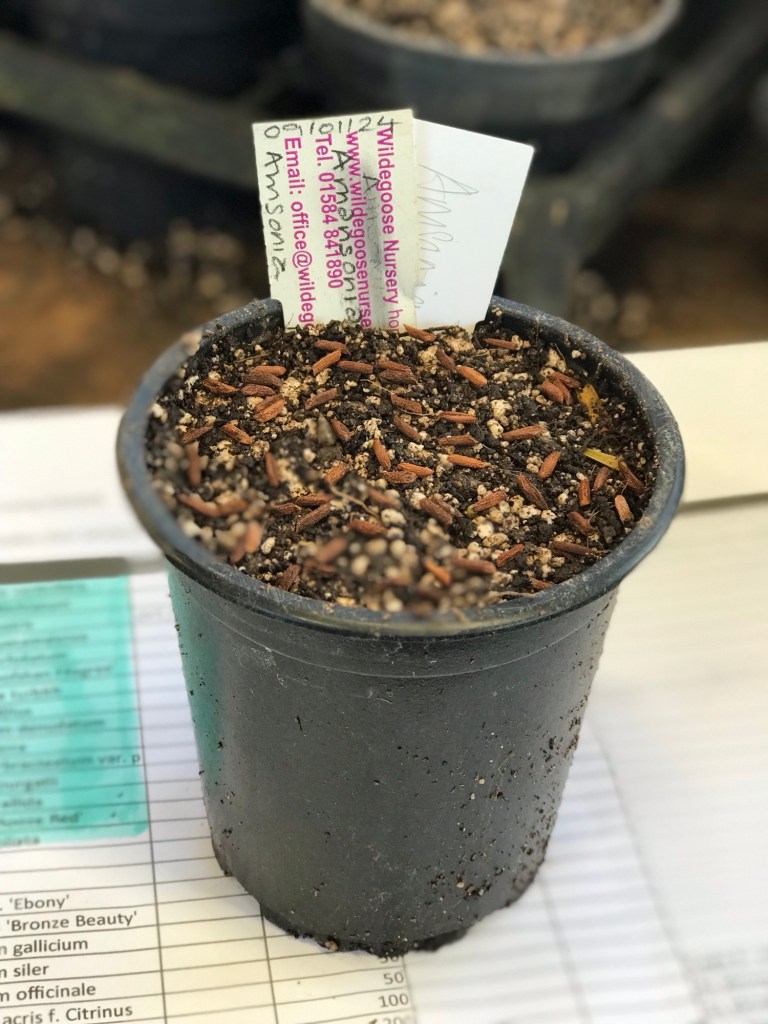


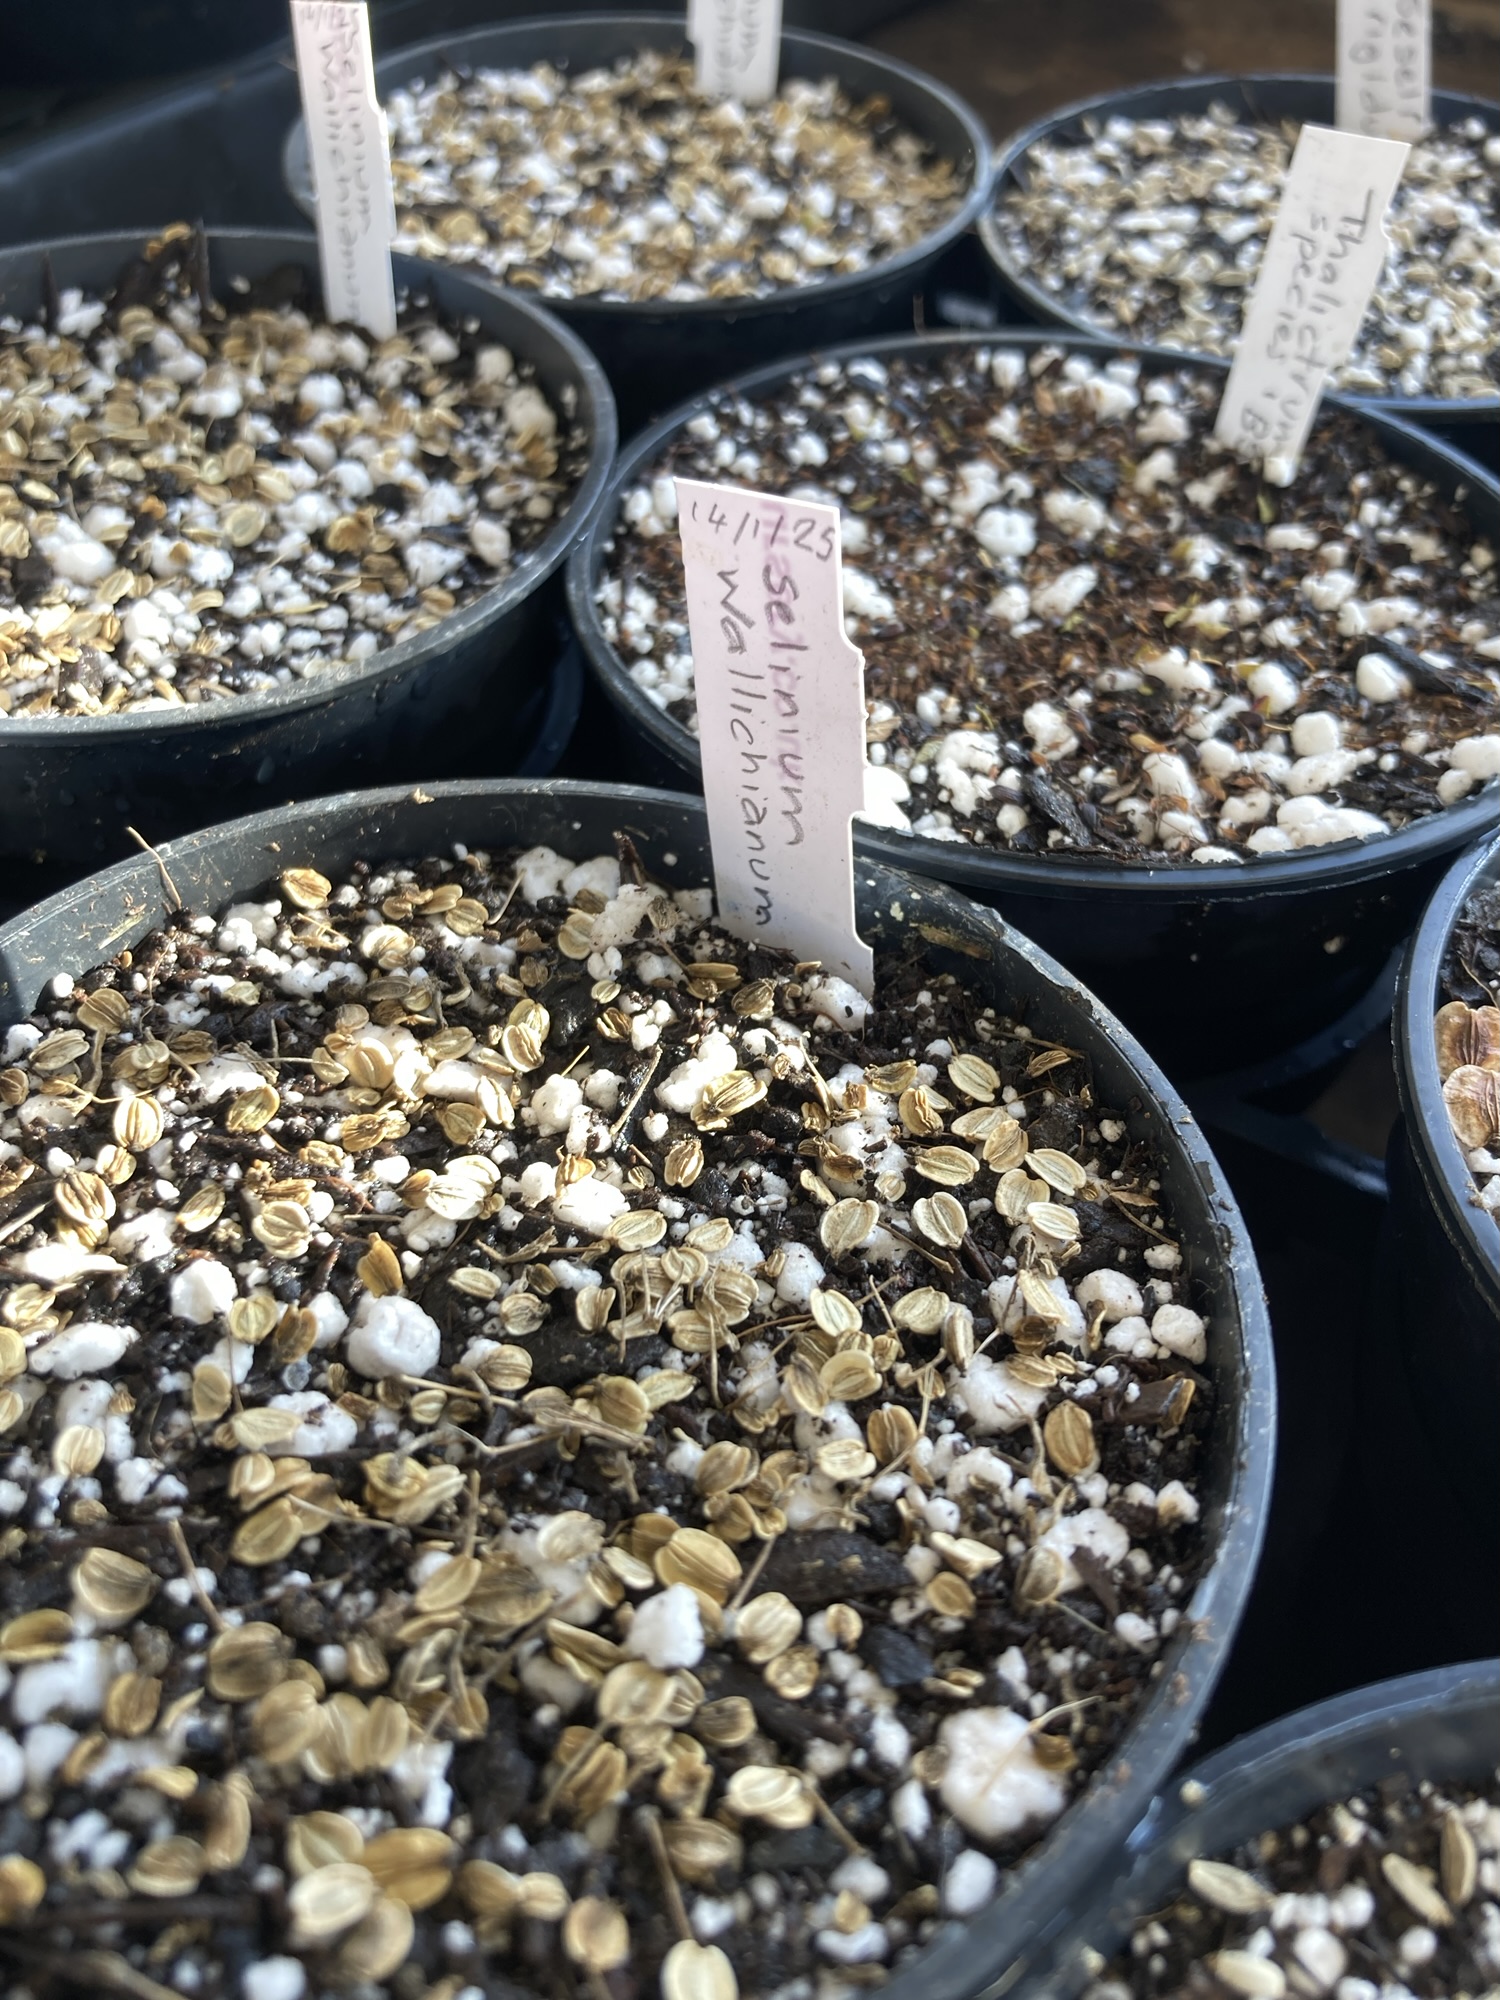
Sowing the seed
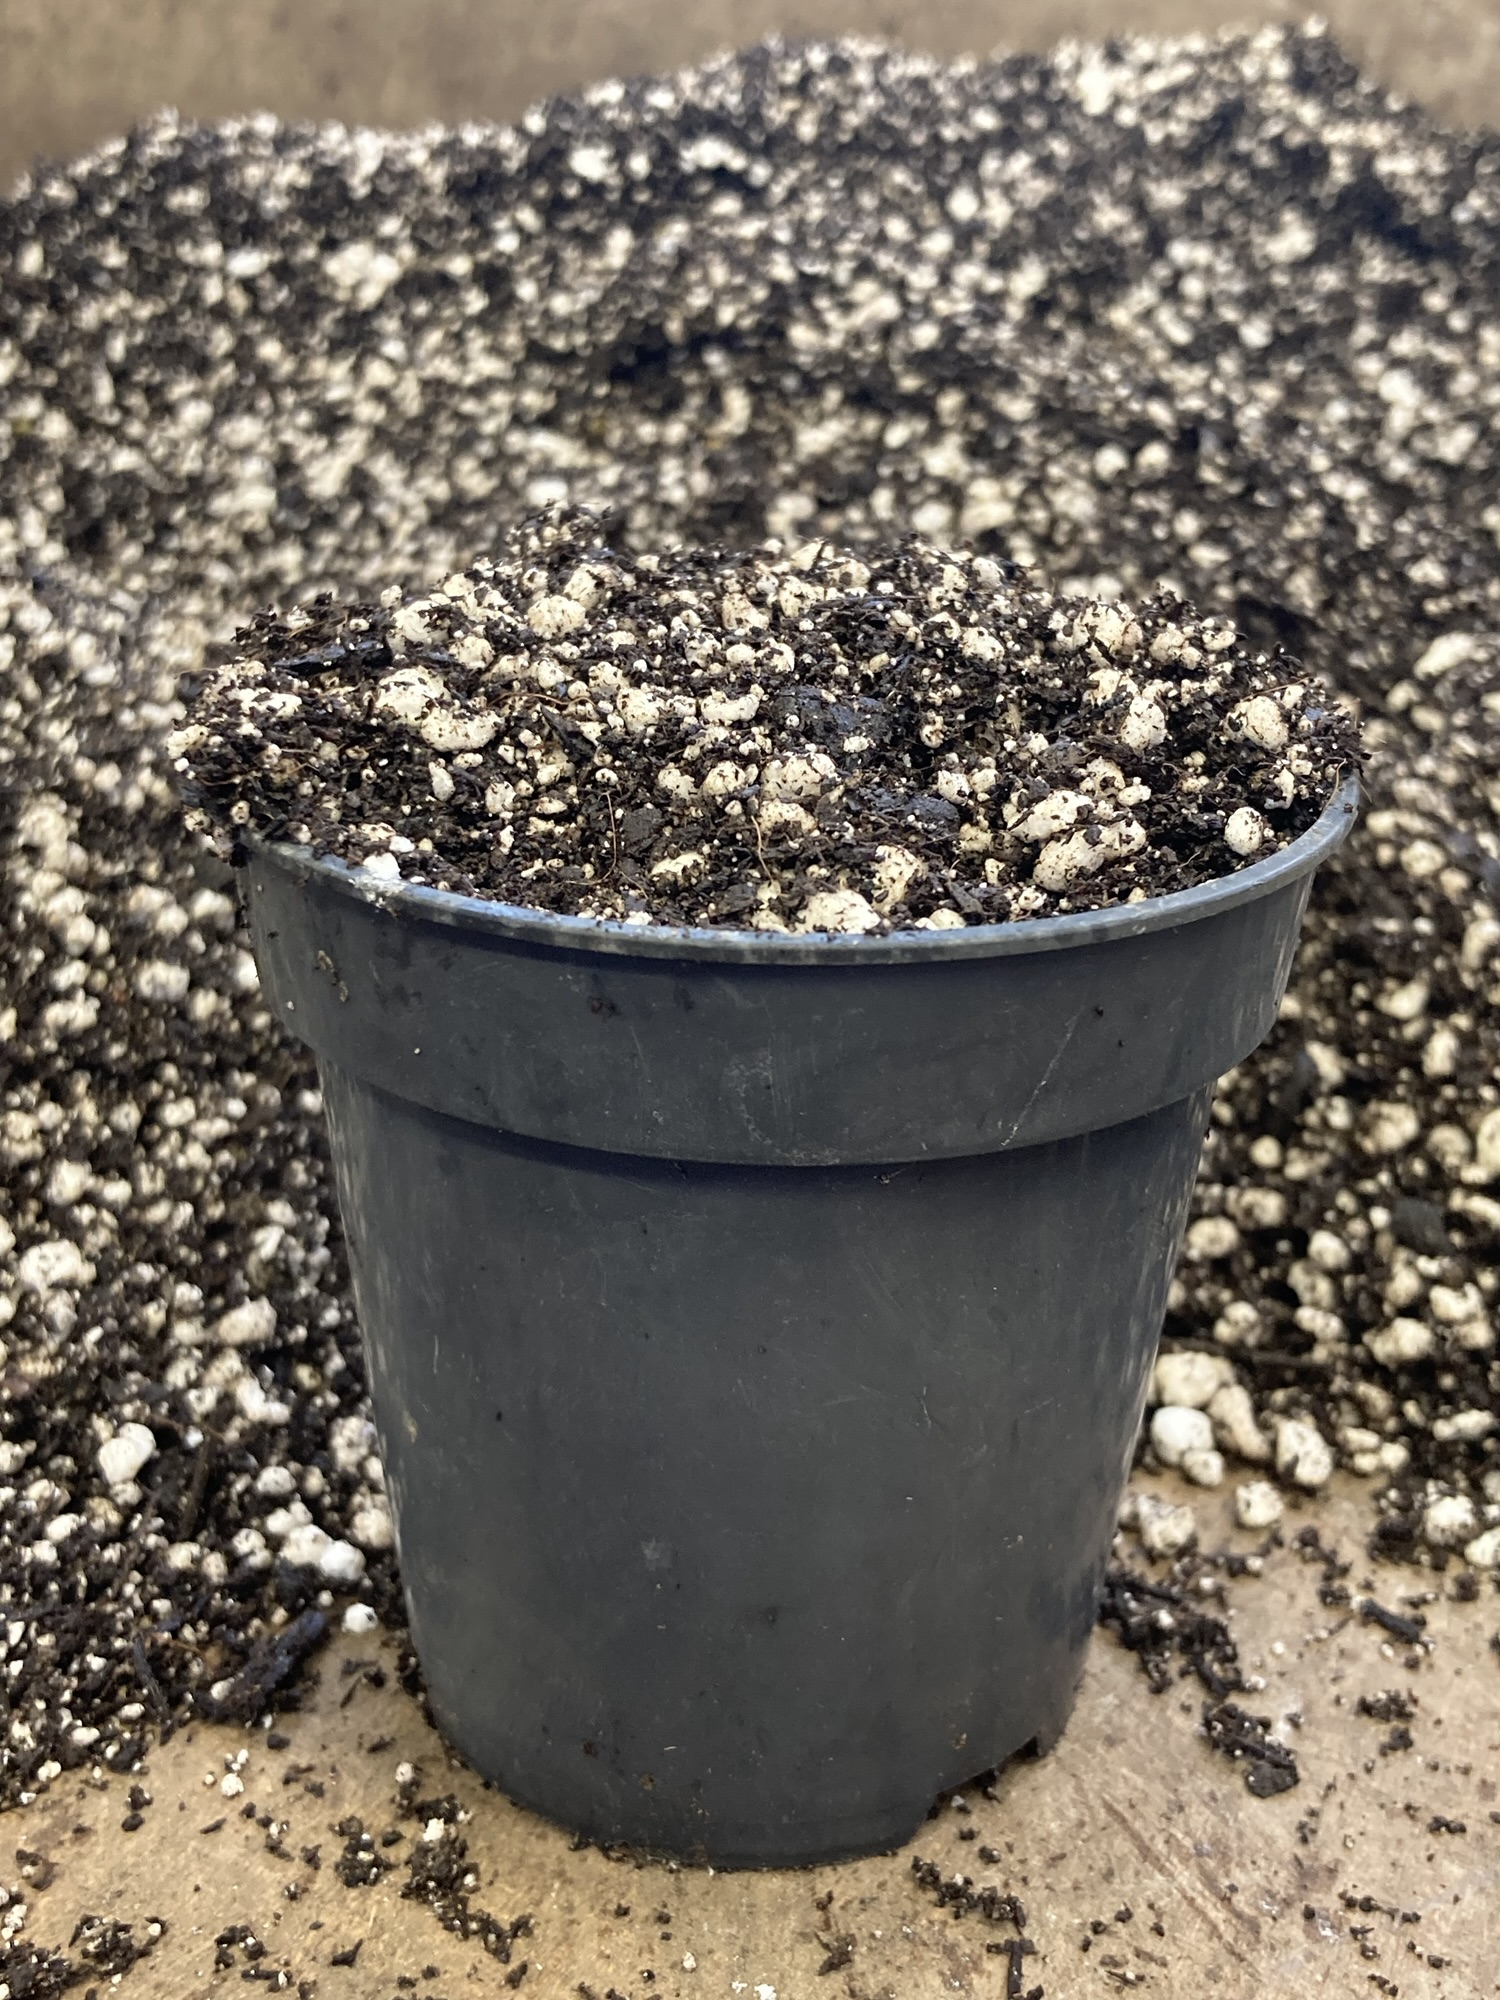
Use a mix of 50/50 peat free compost and perlite. Perlite is used as it is sterile, provides good drainage and helps to prevent compaction of the growing medium. It is important to lightly dampen down the perlite first as it can be quite dusty. For sowing, see images below. Once sown, put outside on a table and wait for the winter weather to start the germination process.


My introduction to natural propagation was due to coming across a previously unknown perennial to myself. After identifying Althaea cannabina I felt compelled to propagate it. Seed was acquired, and instructions followed ( in a round about fashion) and no germination occurred. This was due to keeping the seeds in an unheated greenhouse, it just wasn’t cold enough. Outside they went and within a matter of 6 weeks germination occurred. This is such a simple and highly rewarding type of propagation. My plants are now in their fourth year and tower in at over 2 metres.


It will only be the seeds which ultimately undergo the real extremities of cold , you don’t even have to venture out as can have a go at natural stratification from the comfort of your home. Alternatively, you might just feel compelled to venture outside into your garden more frequently to check to see if your seeds have germinated . Why not give it a go?


[…] Sally Wicks Sallys Garden. My thoughts as I garden, design and travel. « Natural stratification . […]
LikeLike